My Cattle Panel Greenhouse Build-2024

And Lori says..."Grand Rapids, Michigan is where I want to stay...I get allergic to smelling hay!"
Smiles.
My Sweetheart...Lori...is an import from Michigan...now a happy Wisconsinite. She says she is even getting used to my new beard. She indulges me so!

I received several requests to see more about my design...so...here ya go...My Pleasure.
I began drawing and making my plans on December 27th, 2023. I spent hours researching and scouring the Internet and YouTube to learn from others' designs and experiences. I believe my final design, which incorporates ideas suggested by many others, is working perfectly for me.
And really, isn't the design and planning half the fun?
I am a Happy Camper!
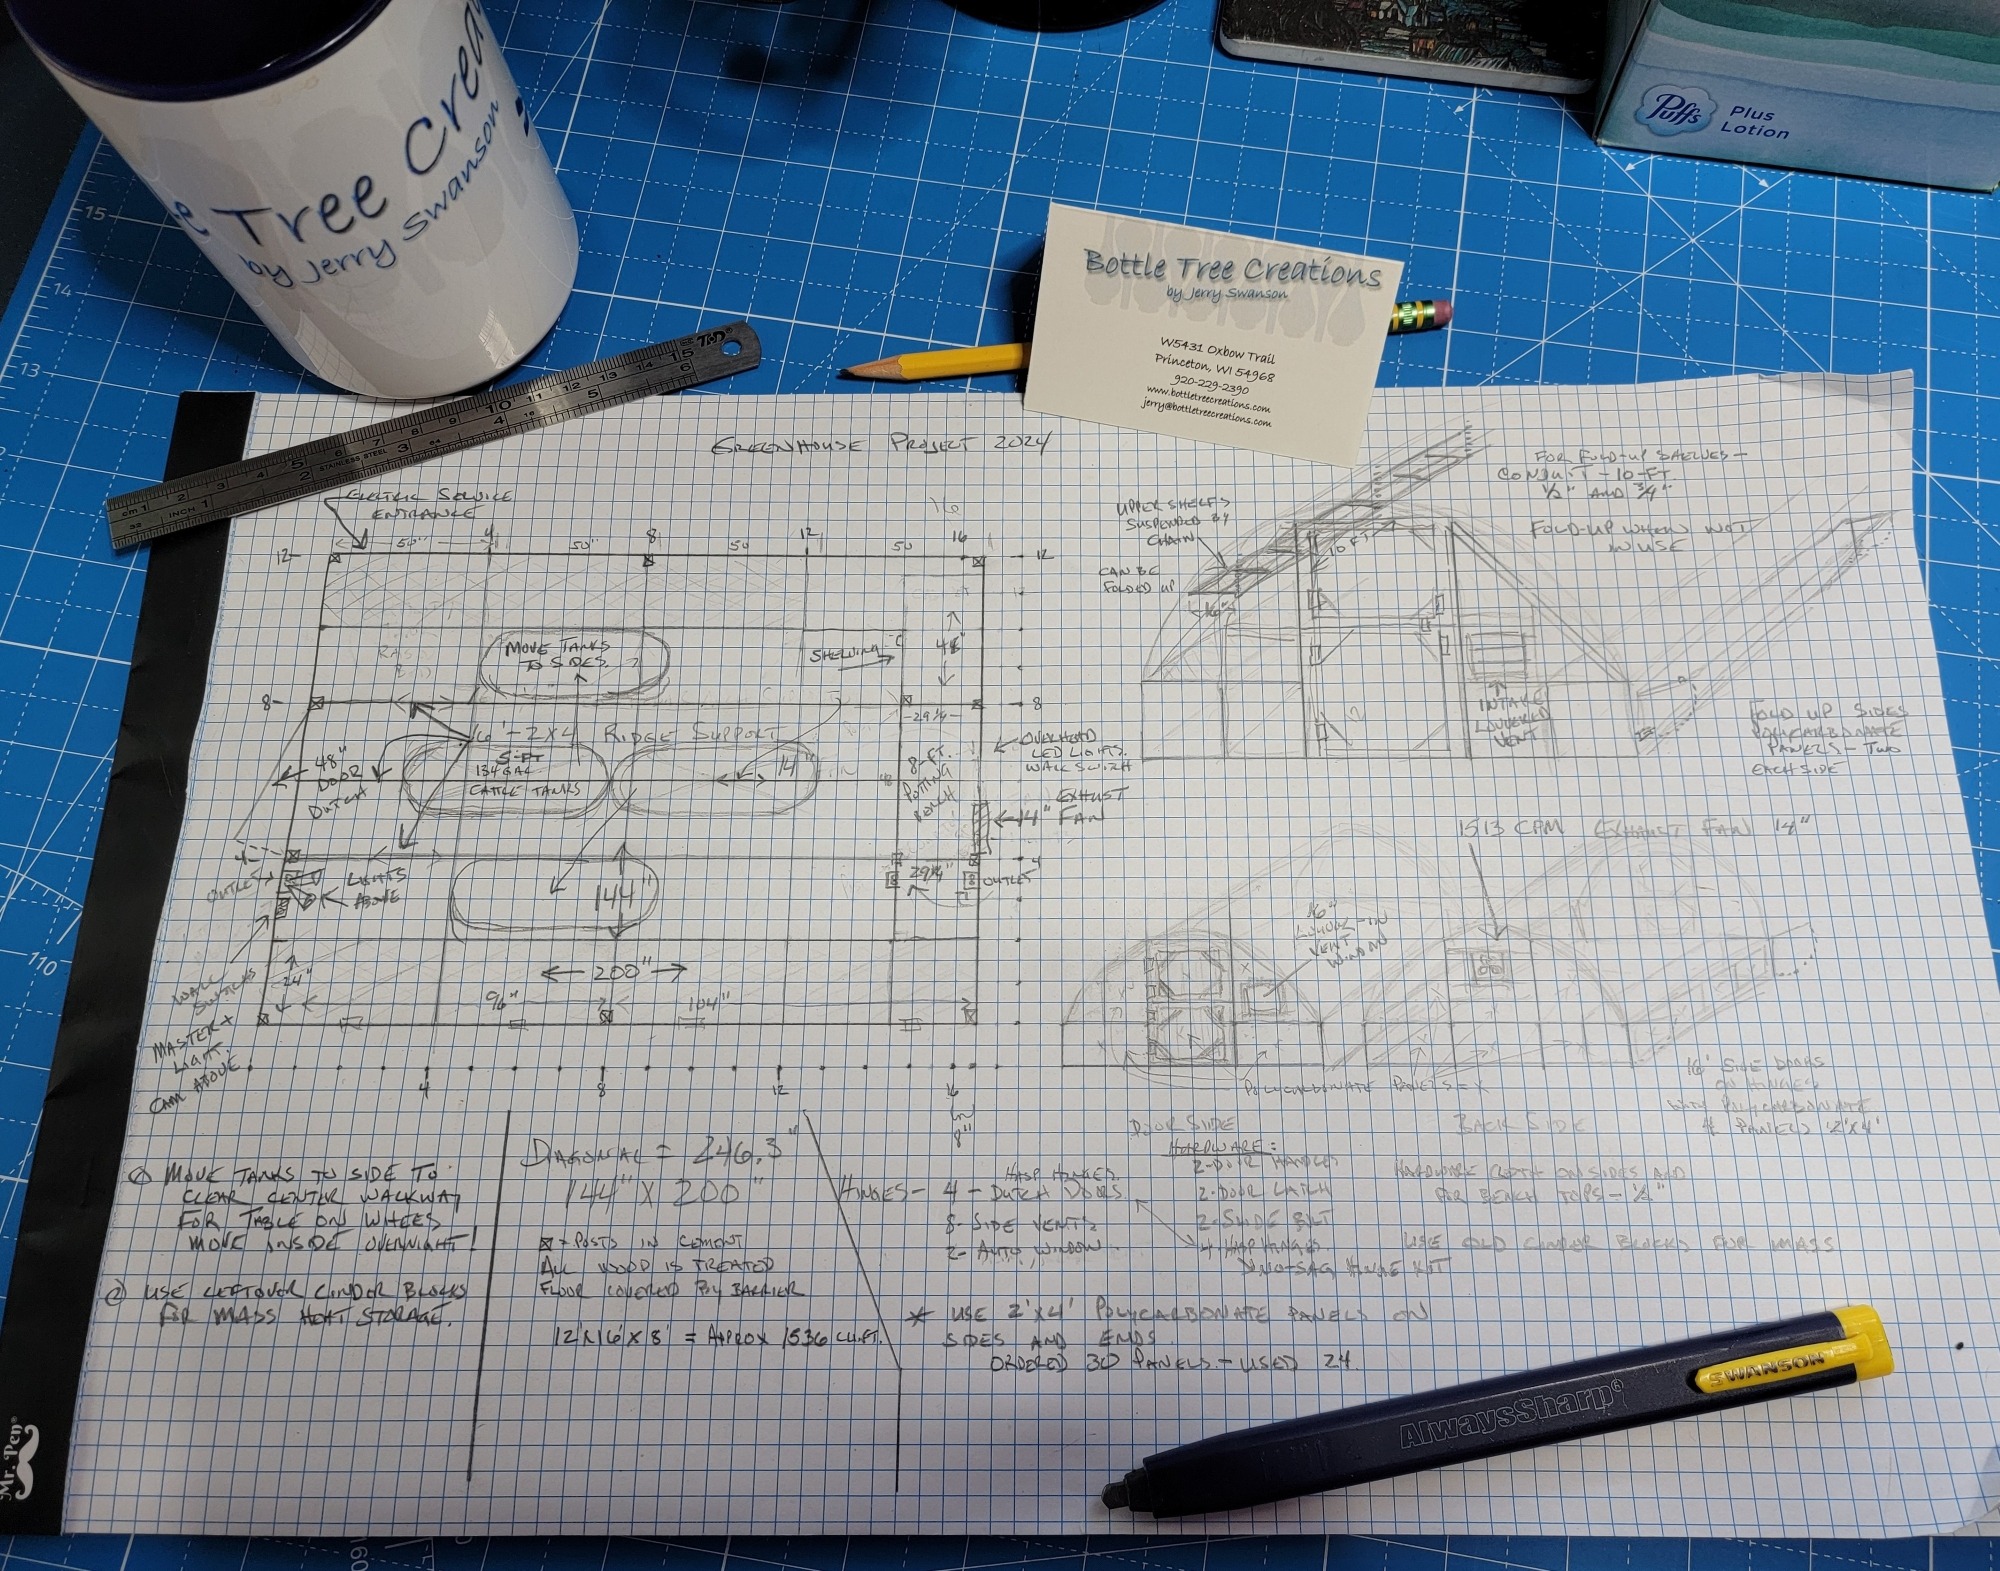
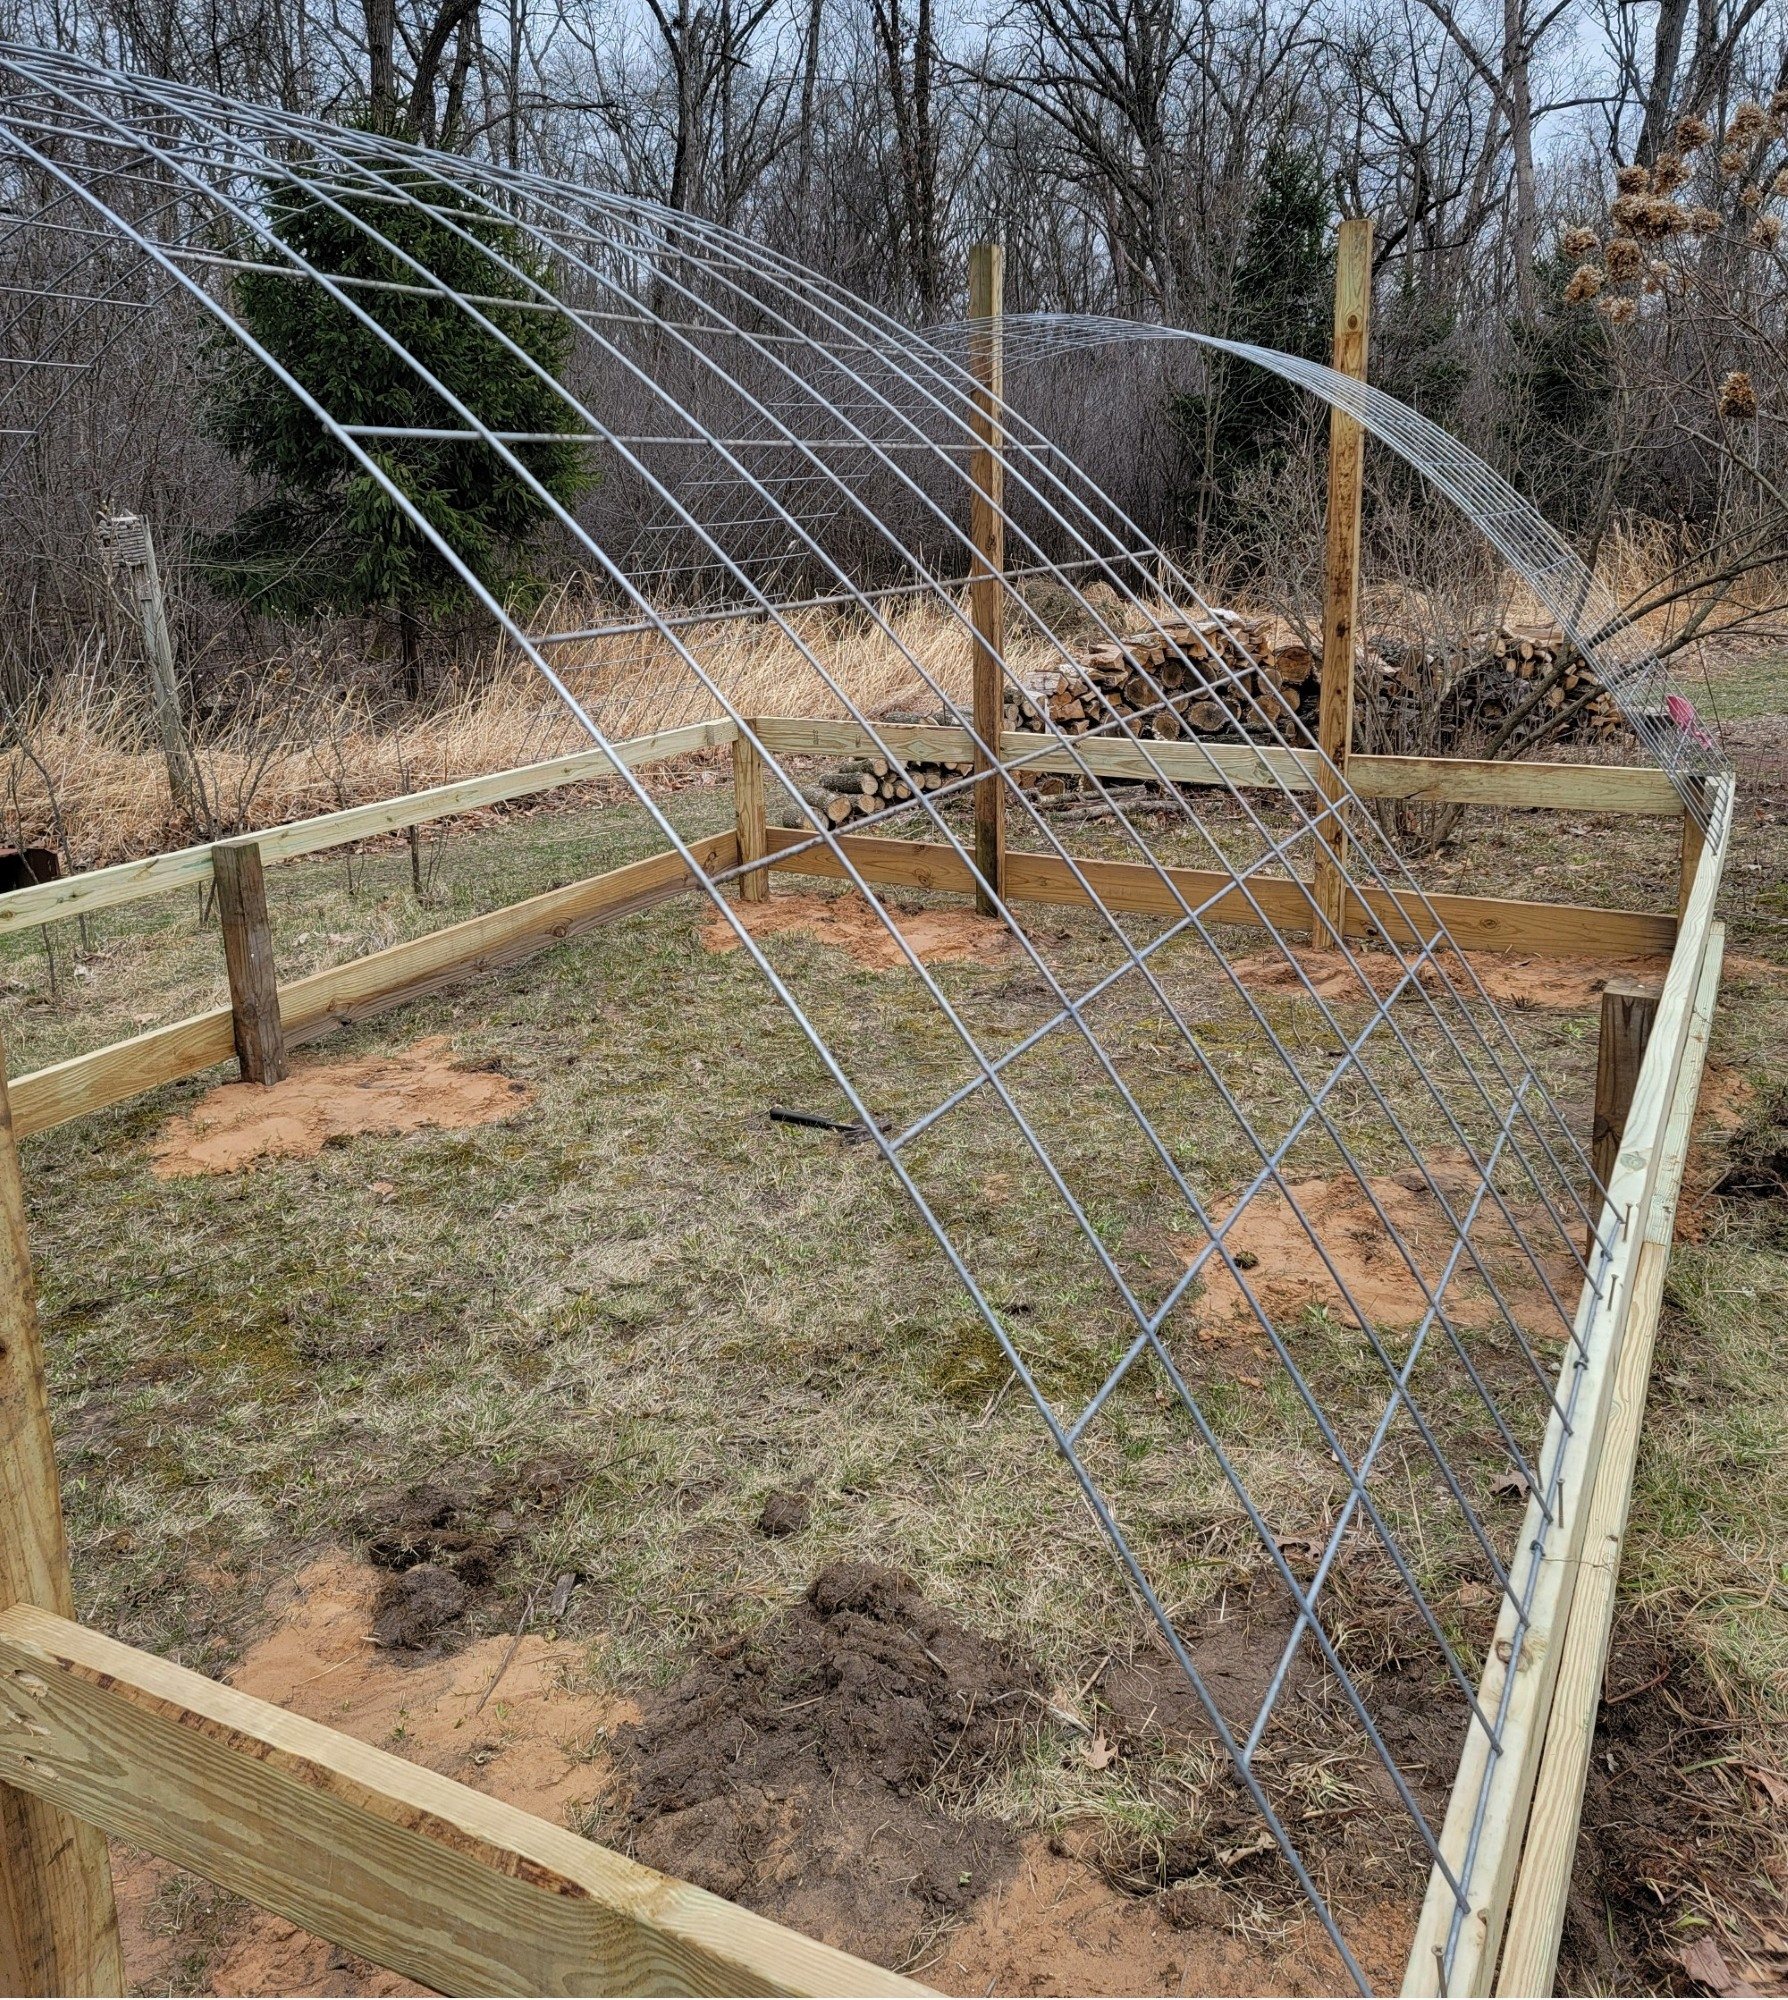
I initially planned to use three 16-ft cattle panels, but after considering the logistics of transporting them home on top of my van, I thought, four is just as hard to get home as three...so...on to Plan B: Upsize!
Each cattle panel measures 50-inches x 16-feet. As an alternative to cutting the length of the design to maintain a 16-ft length measurement, I opted to make it 200 inches long. I factored in the extra length to accommodate my potting bench plans.
Additionally, I chose to make it 12 feet wide to allow more space, as I intended to have two cattle water tanks inside as raised beds using the Hügelkultur technique. I've had continued success using three of these tanks.
Notice my shop "Swanson" pencil?

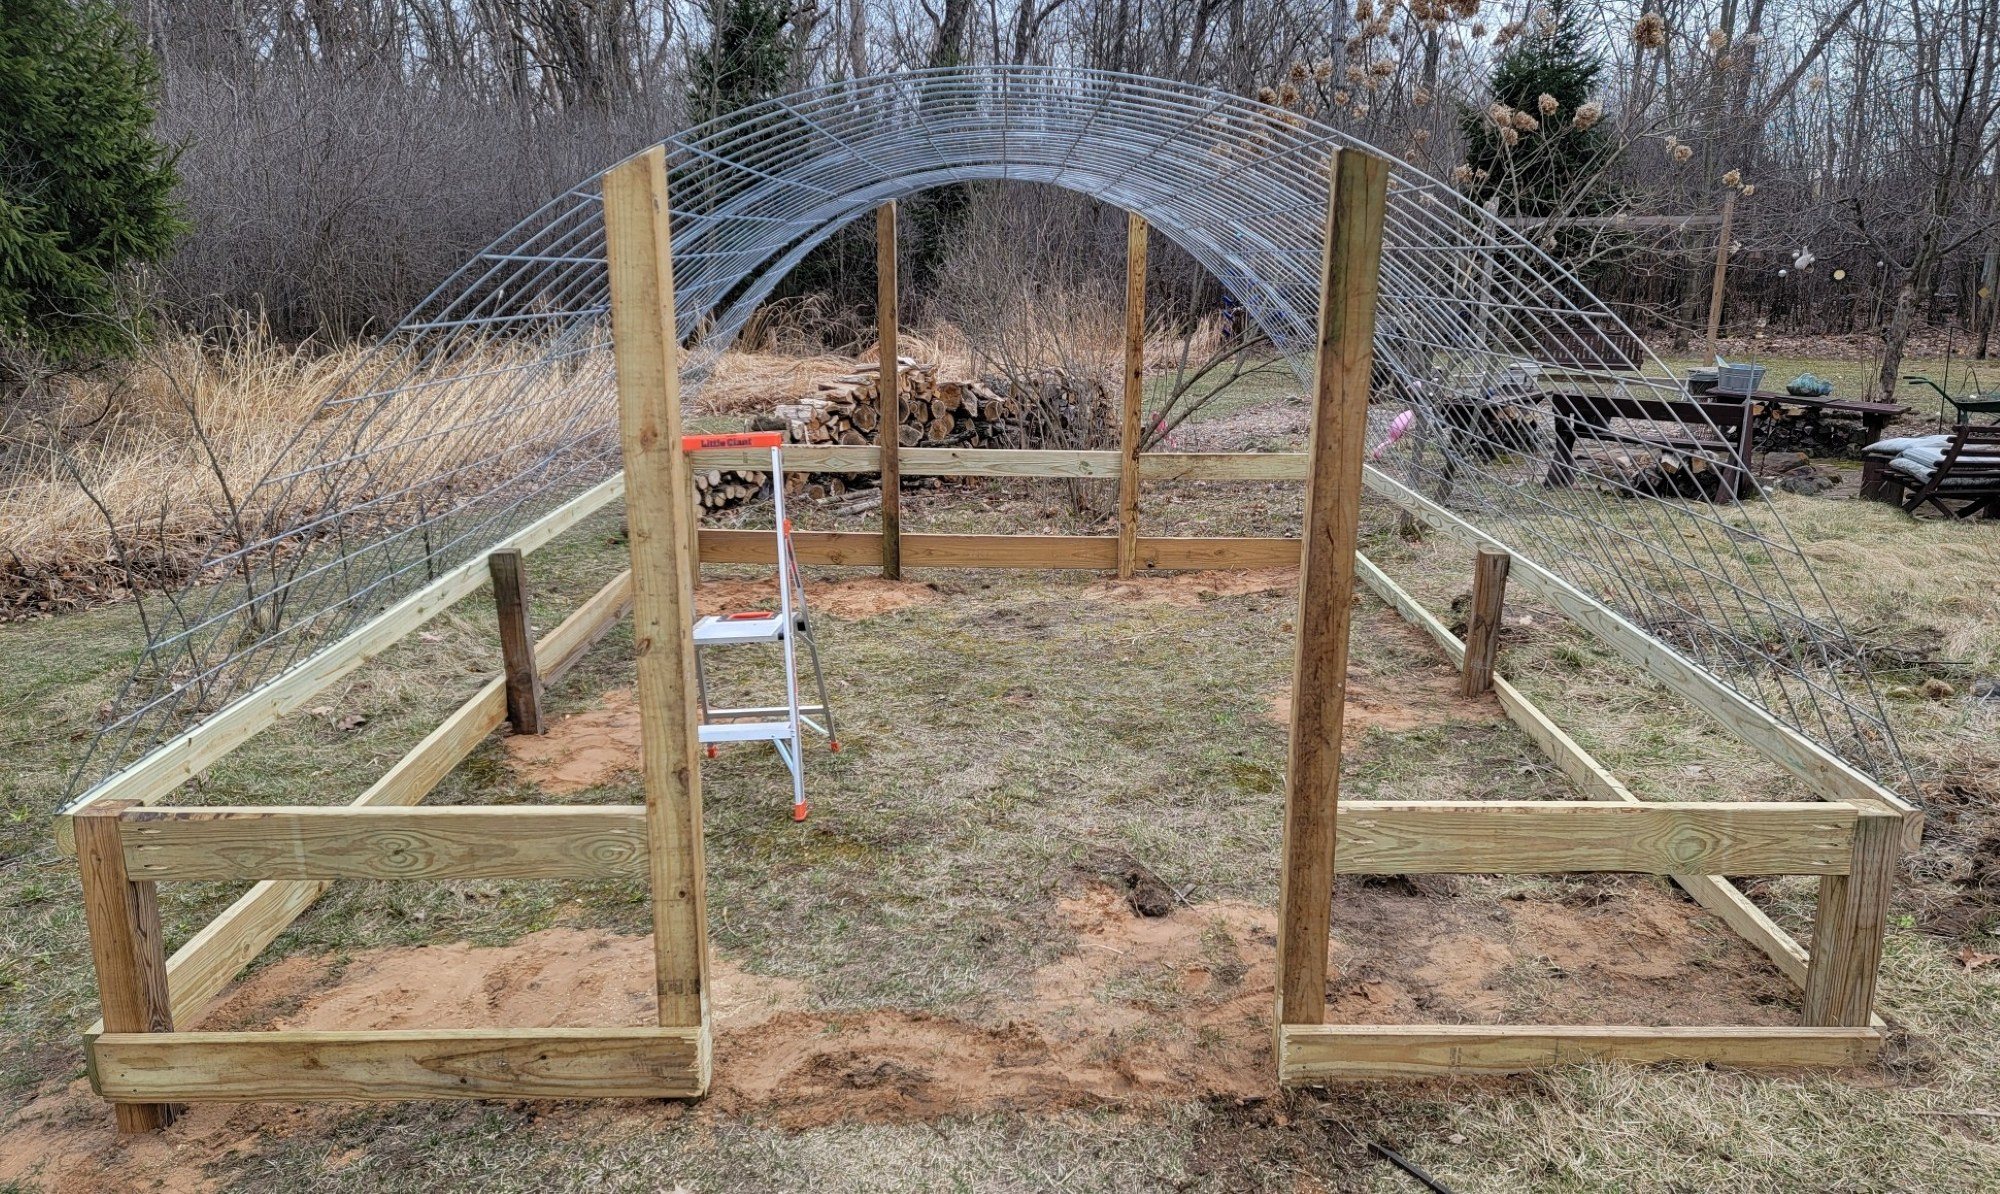
First, I set the four corners. All posts are set in concrete, and all the wood used is treated lumber. I connected the corners and sides with 2x6s, which is my choice for most of my structure. Then I set the additional six posts. Later, the four 10-ft. posts will be cut off as needed. The side walls are two feet high on the high end and slope slightly to the other side. There is about a nine-inch drop over the 12-foot width. I kept that slope to ensure good drainage around and inside the greenhouse.
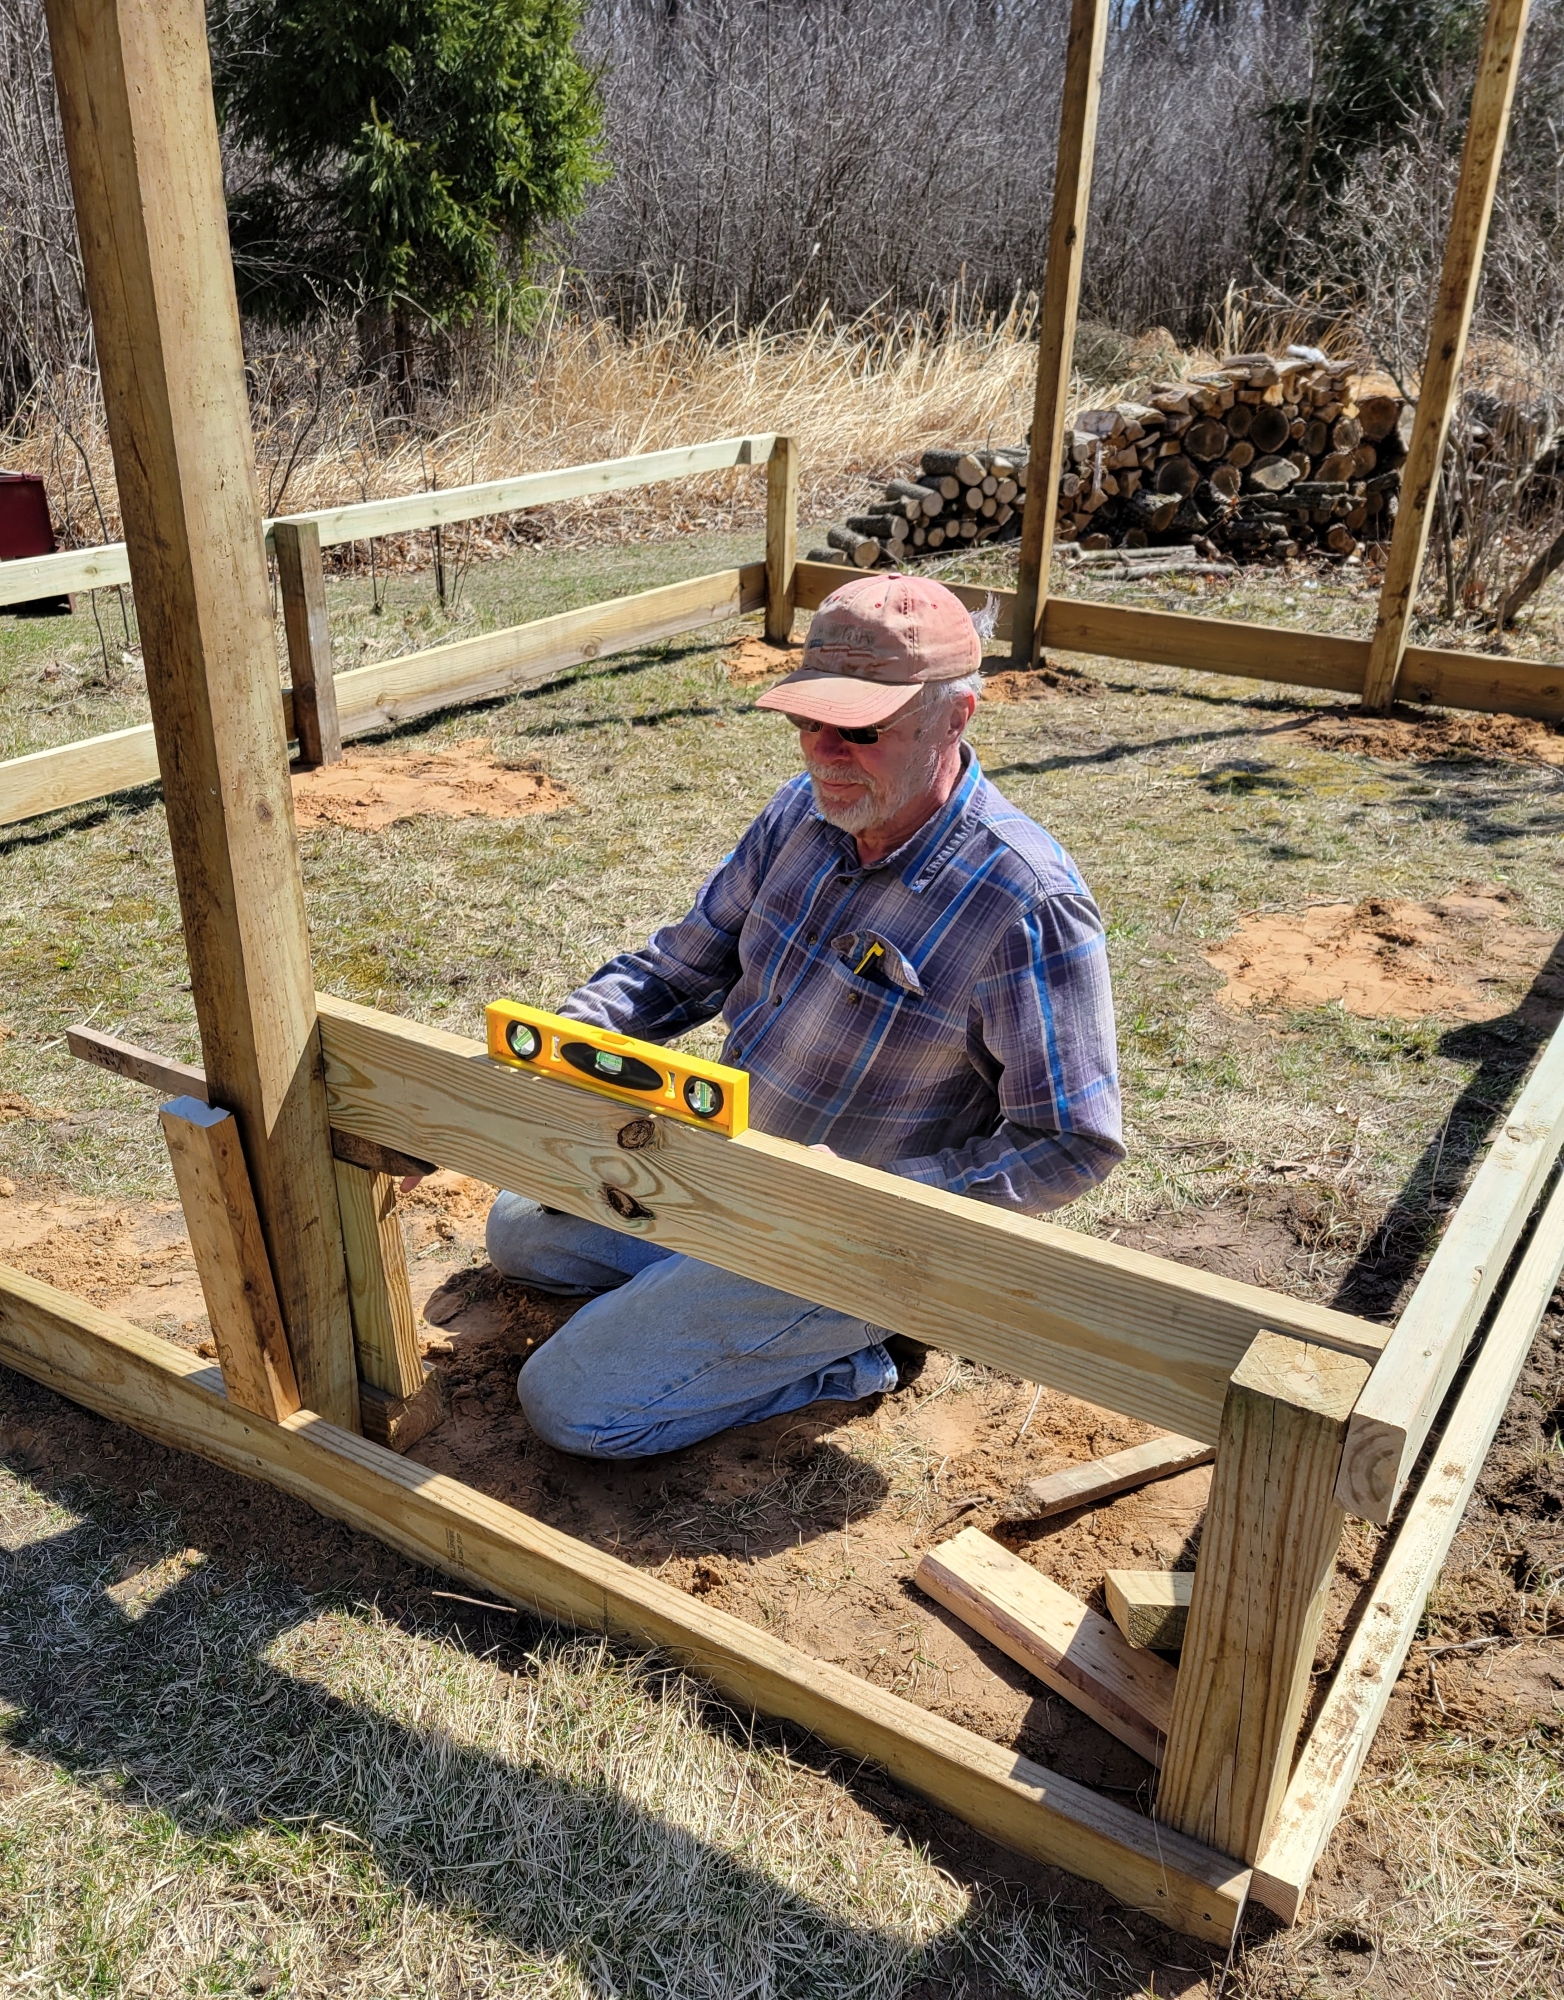
Considering that most wood was custom-cut, I think things worked out well. And where I have always had issues with my miter cuts...my work was ALWAYS straight and level...smiles.
My work bench was some lumber over two saw horses, powered by a 200-foot extension cord.
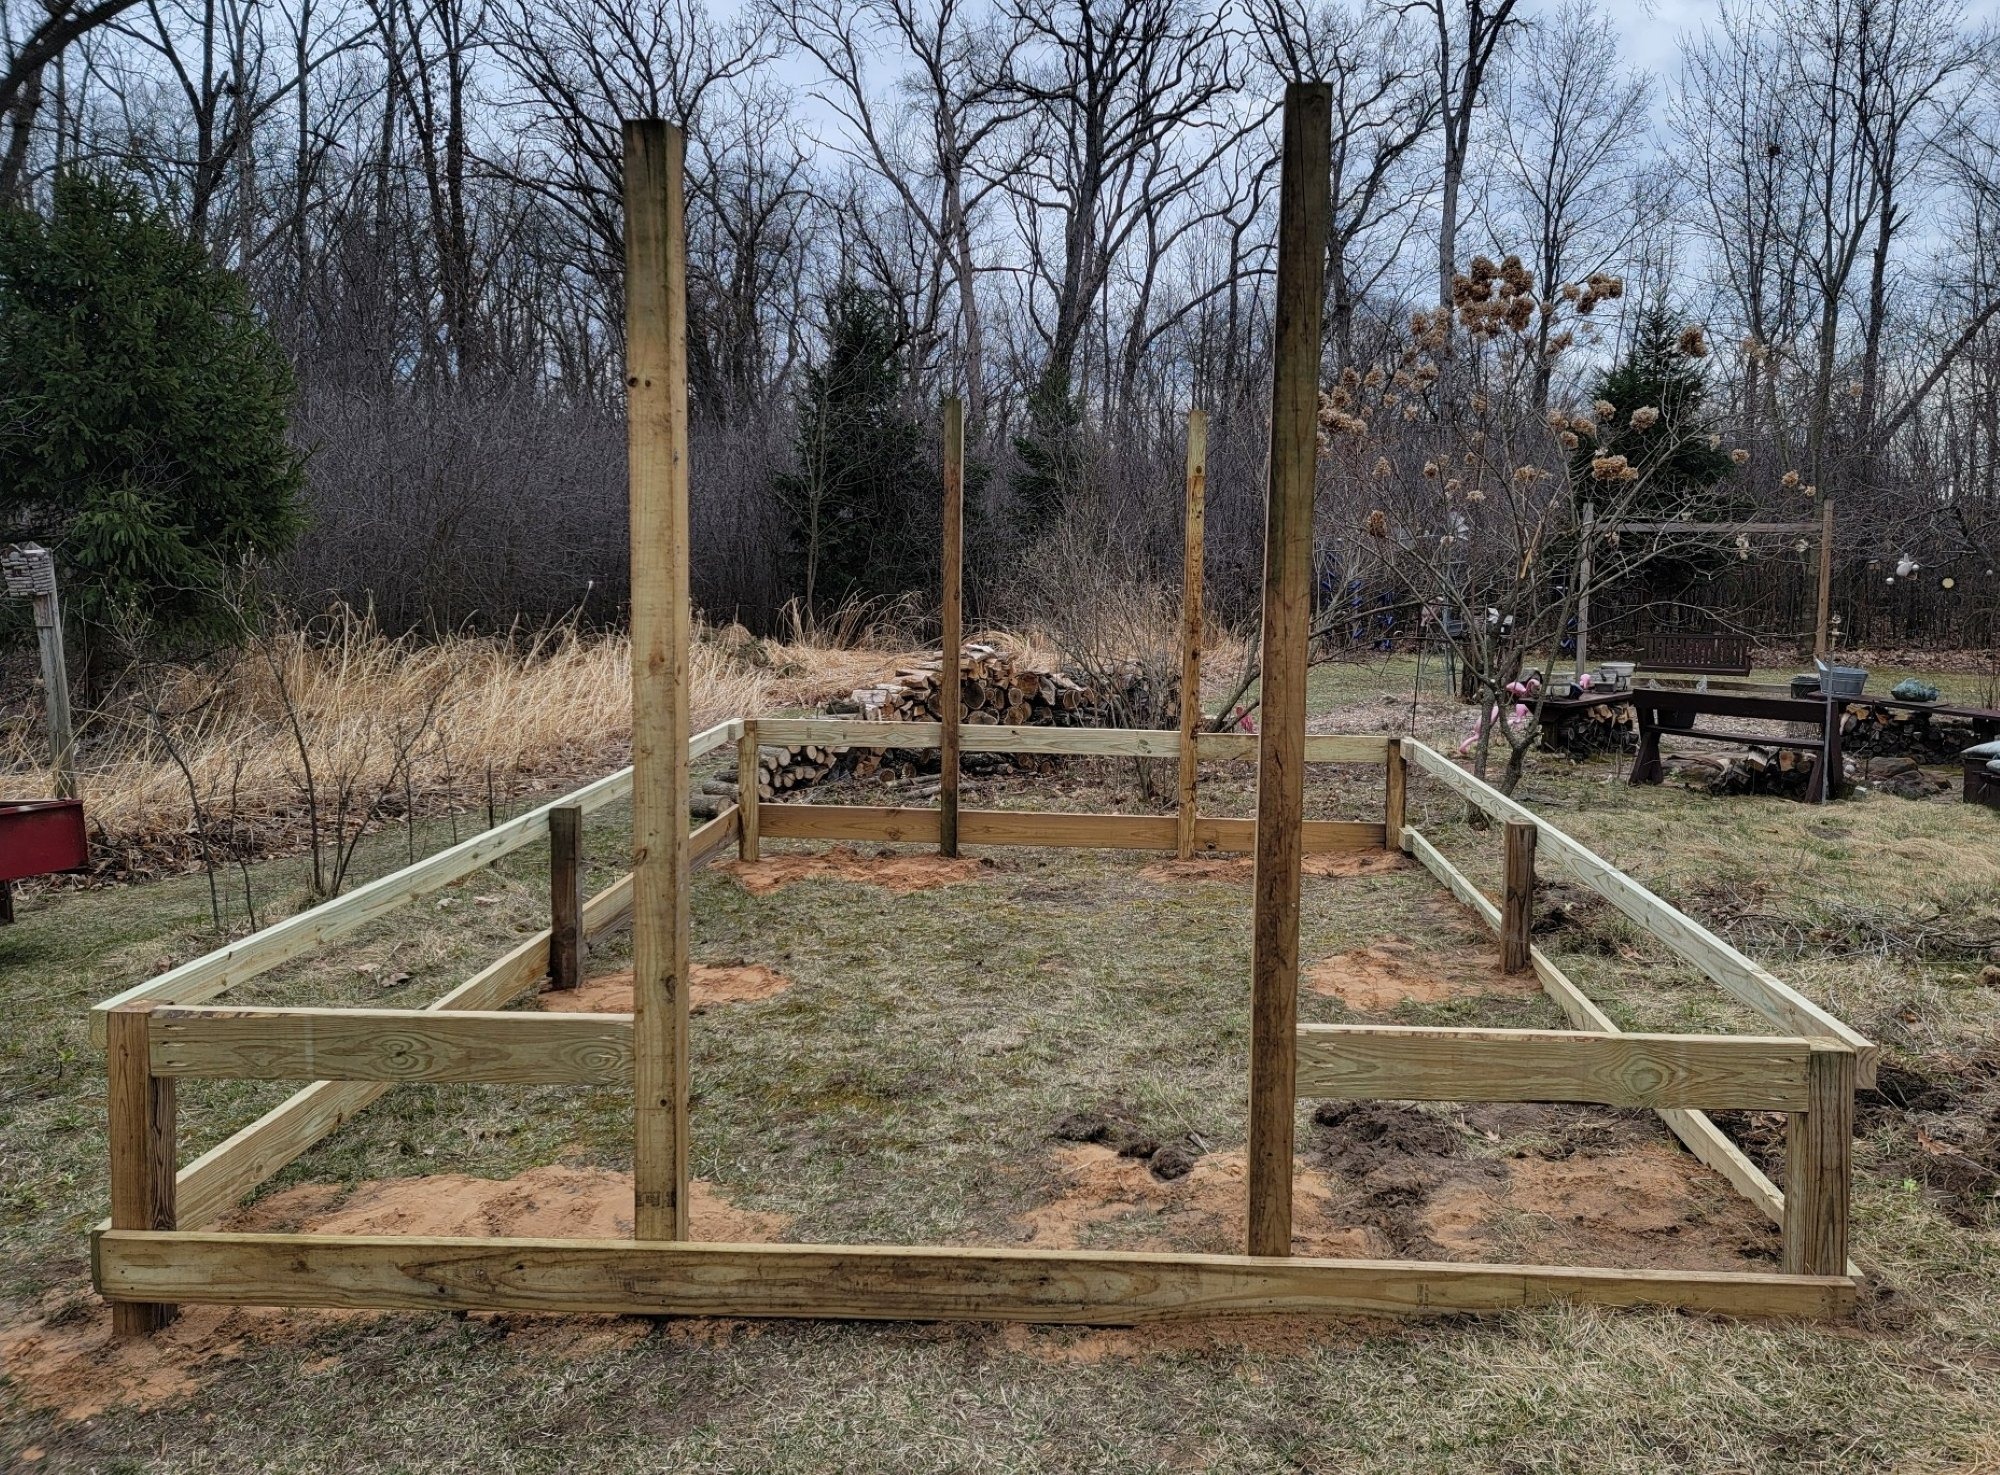
So... the next question was: Did my Geometry class pay off when I was planning the height of the greenhouse's interior? Yes...it did. I even managed to remember the formulas!
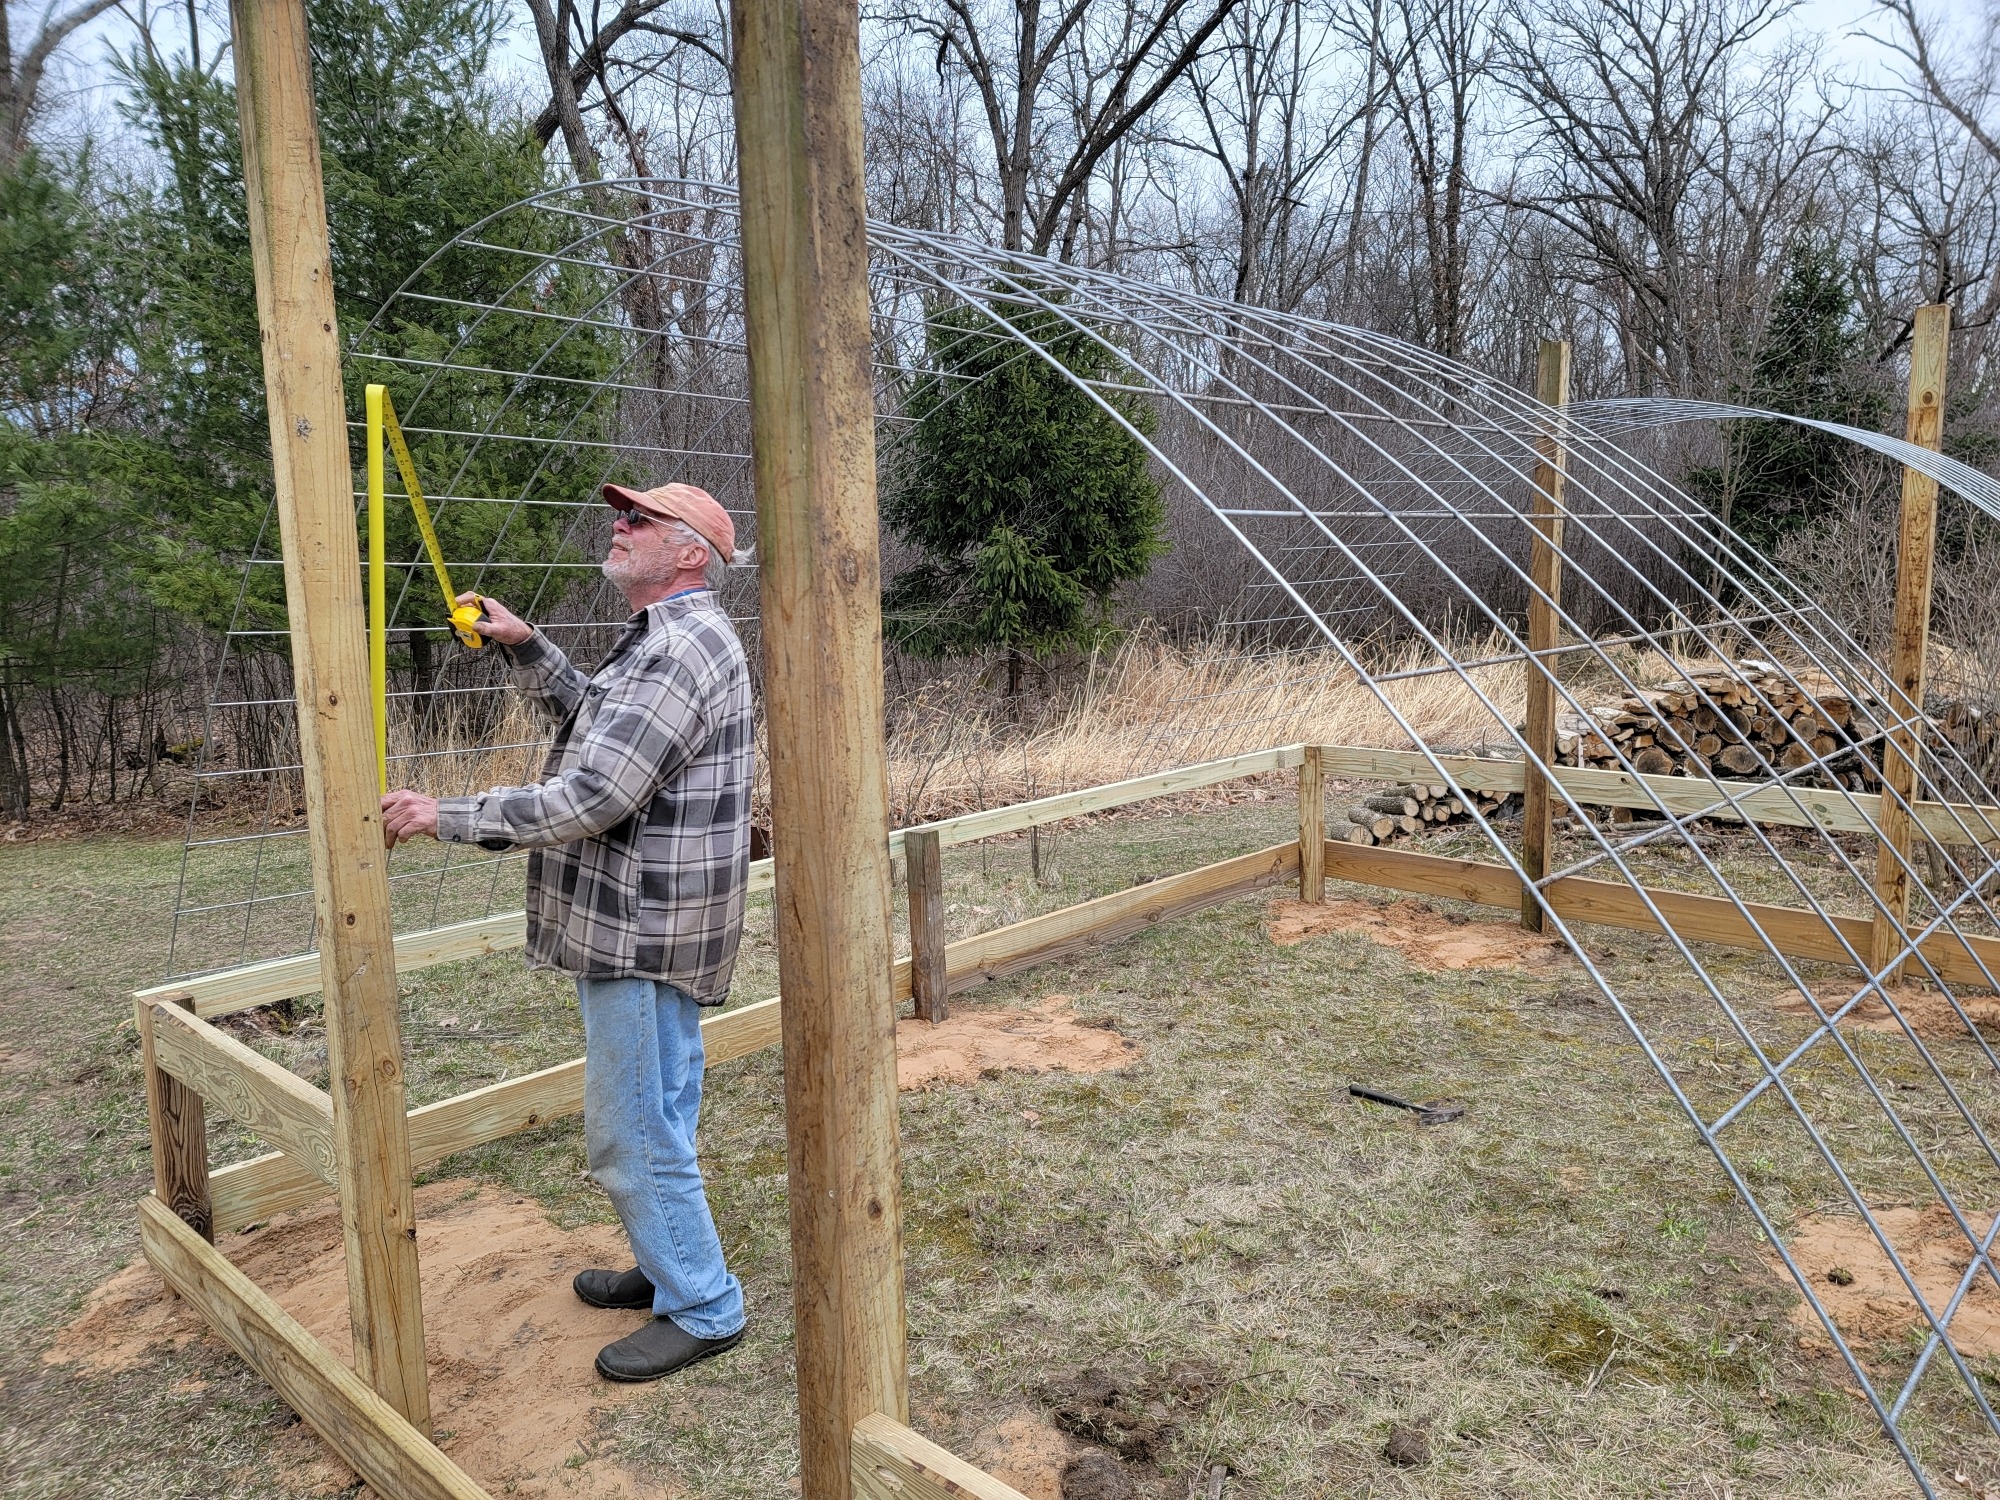
There will be plenty of head room for my plans.
Marking where to cut off the 4x4s...
Time to get out the chain saw.
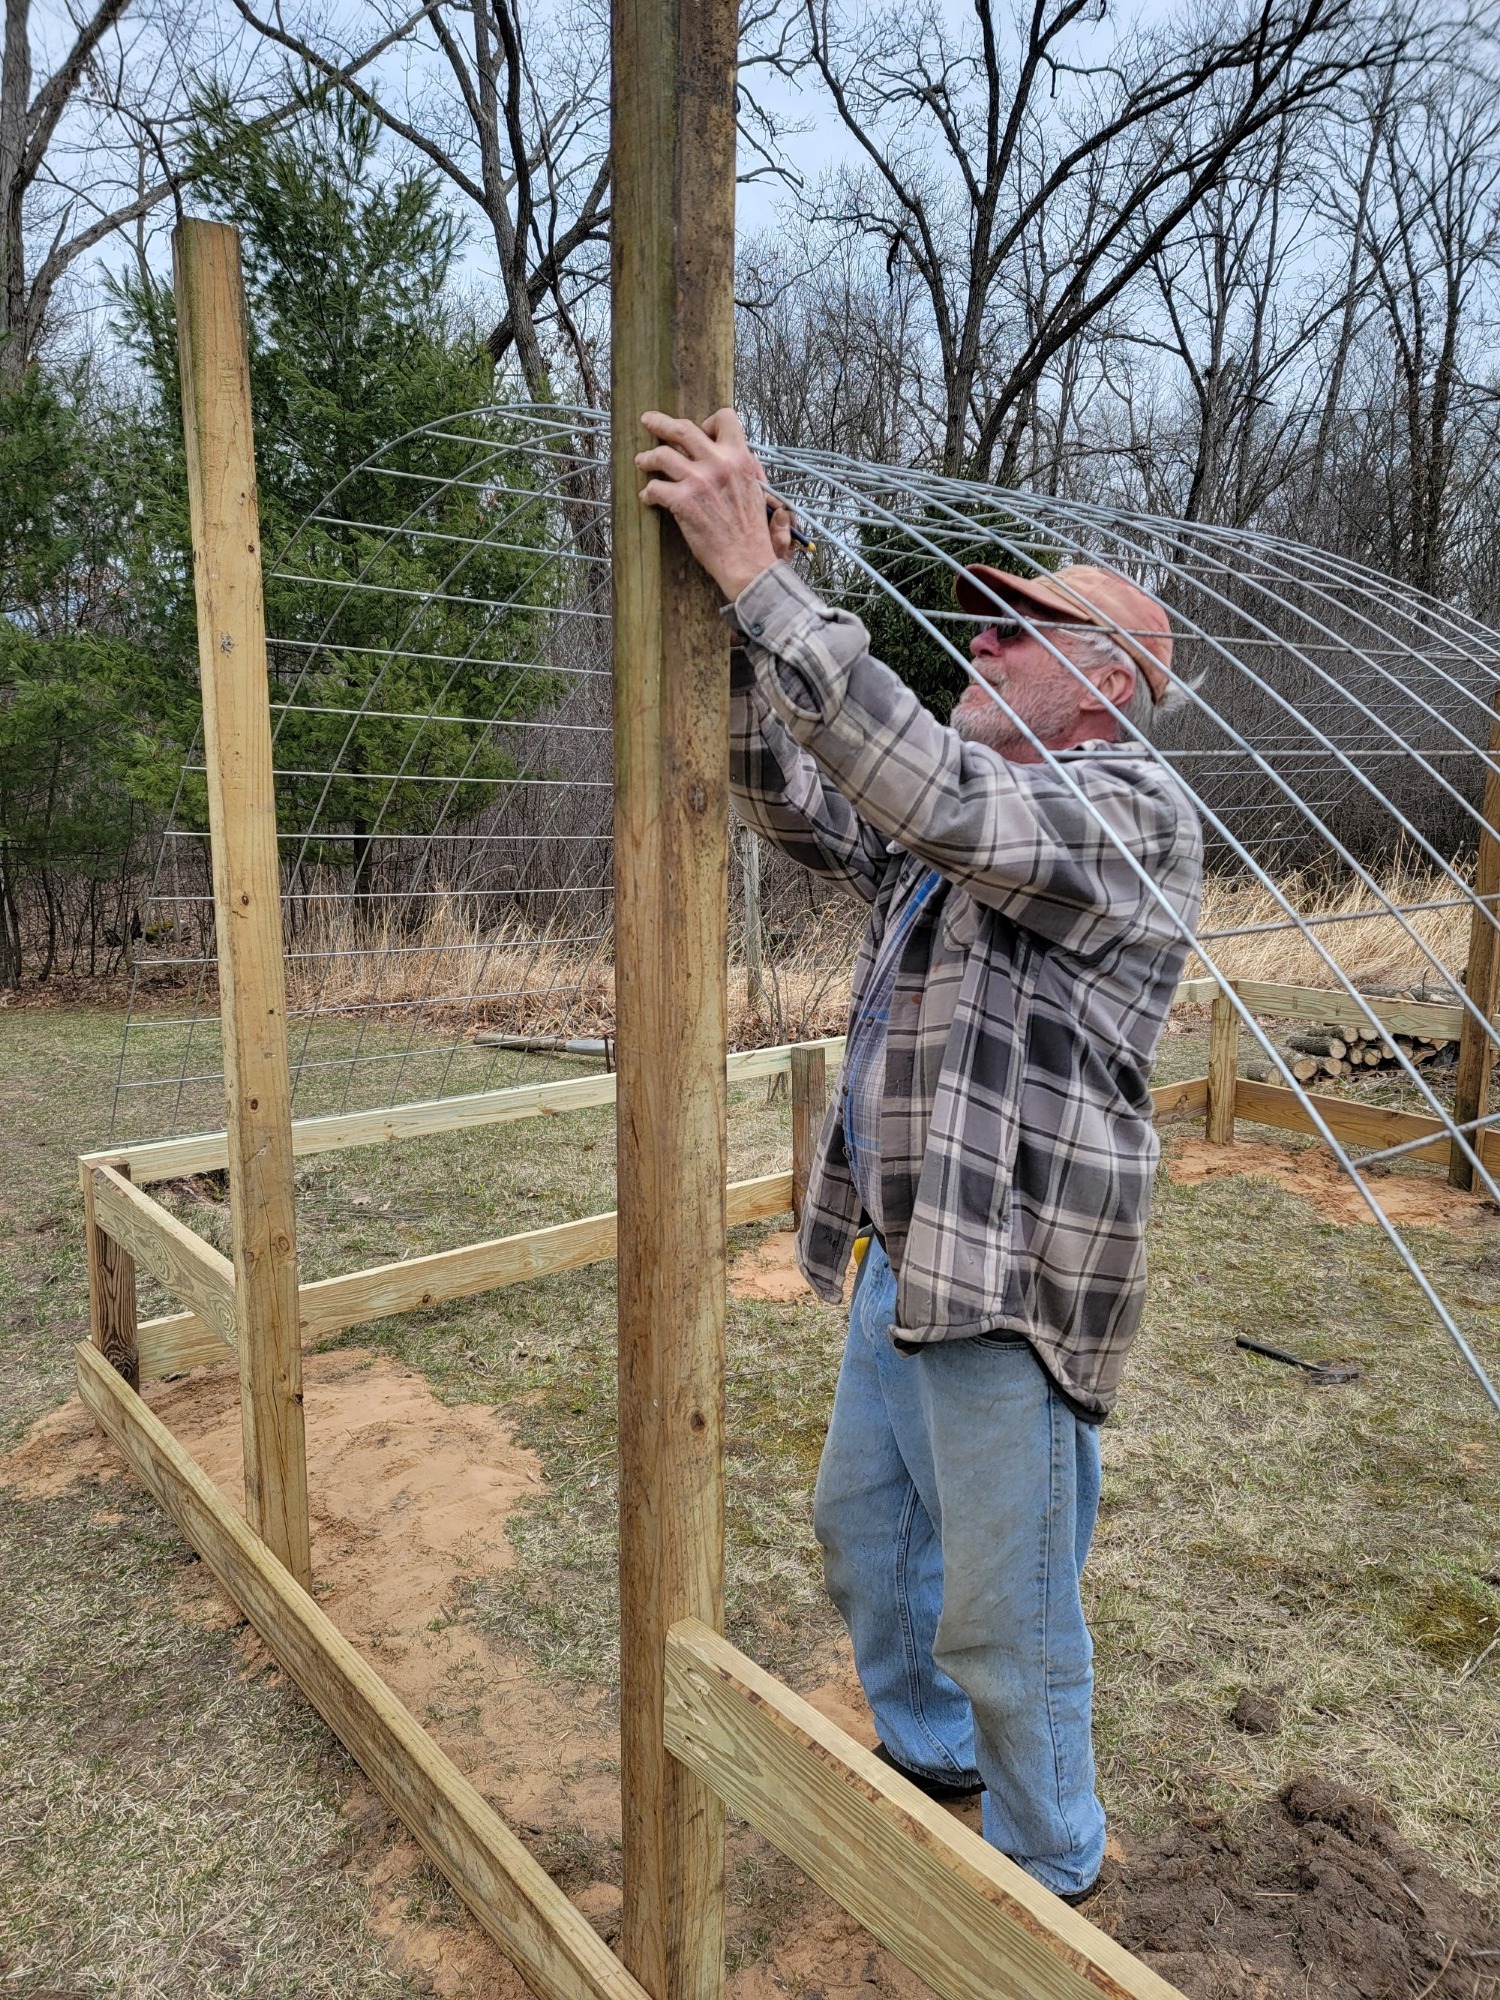
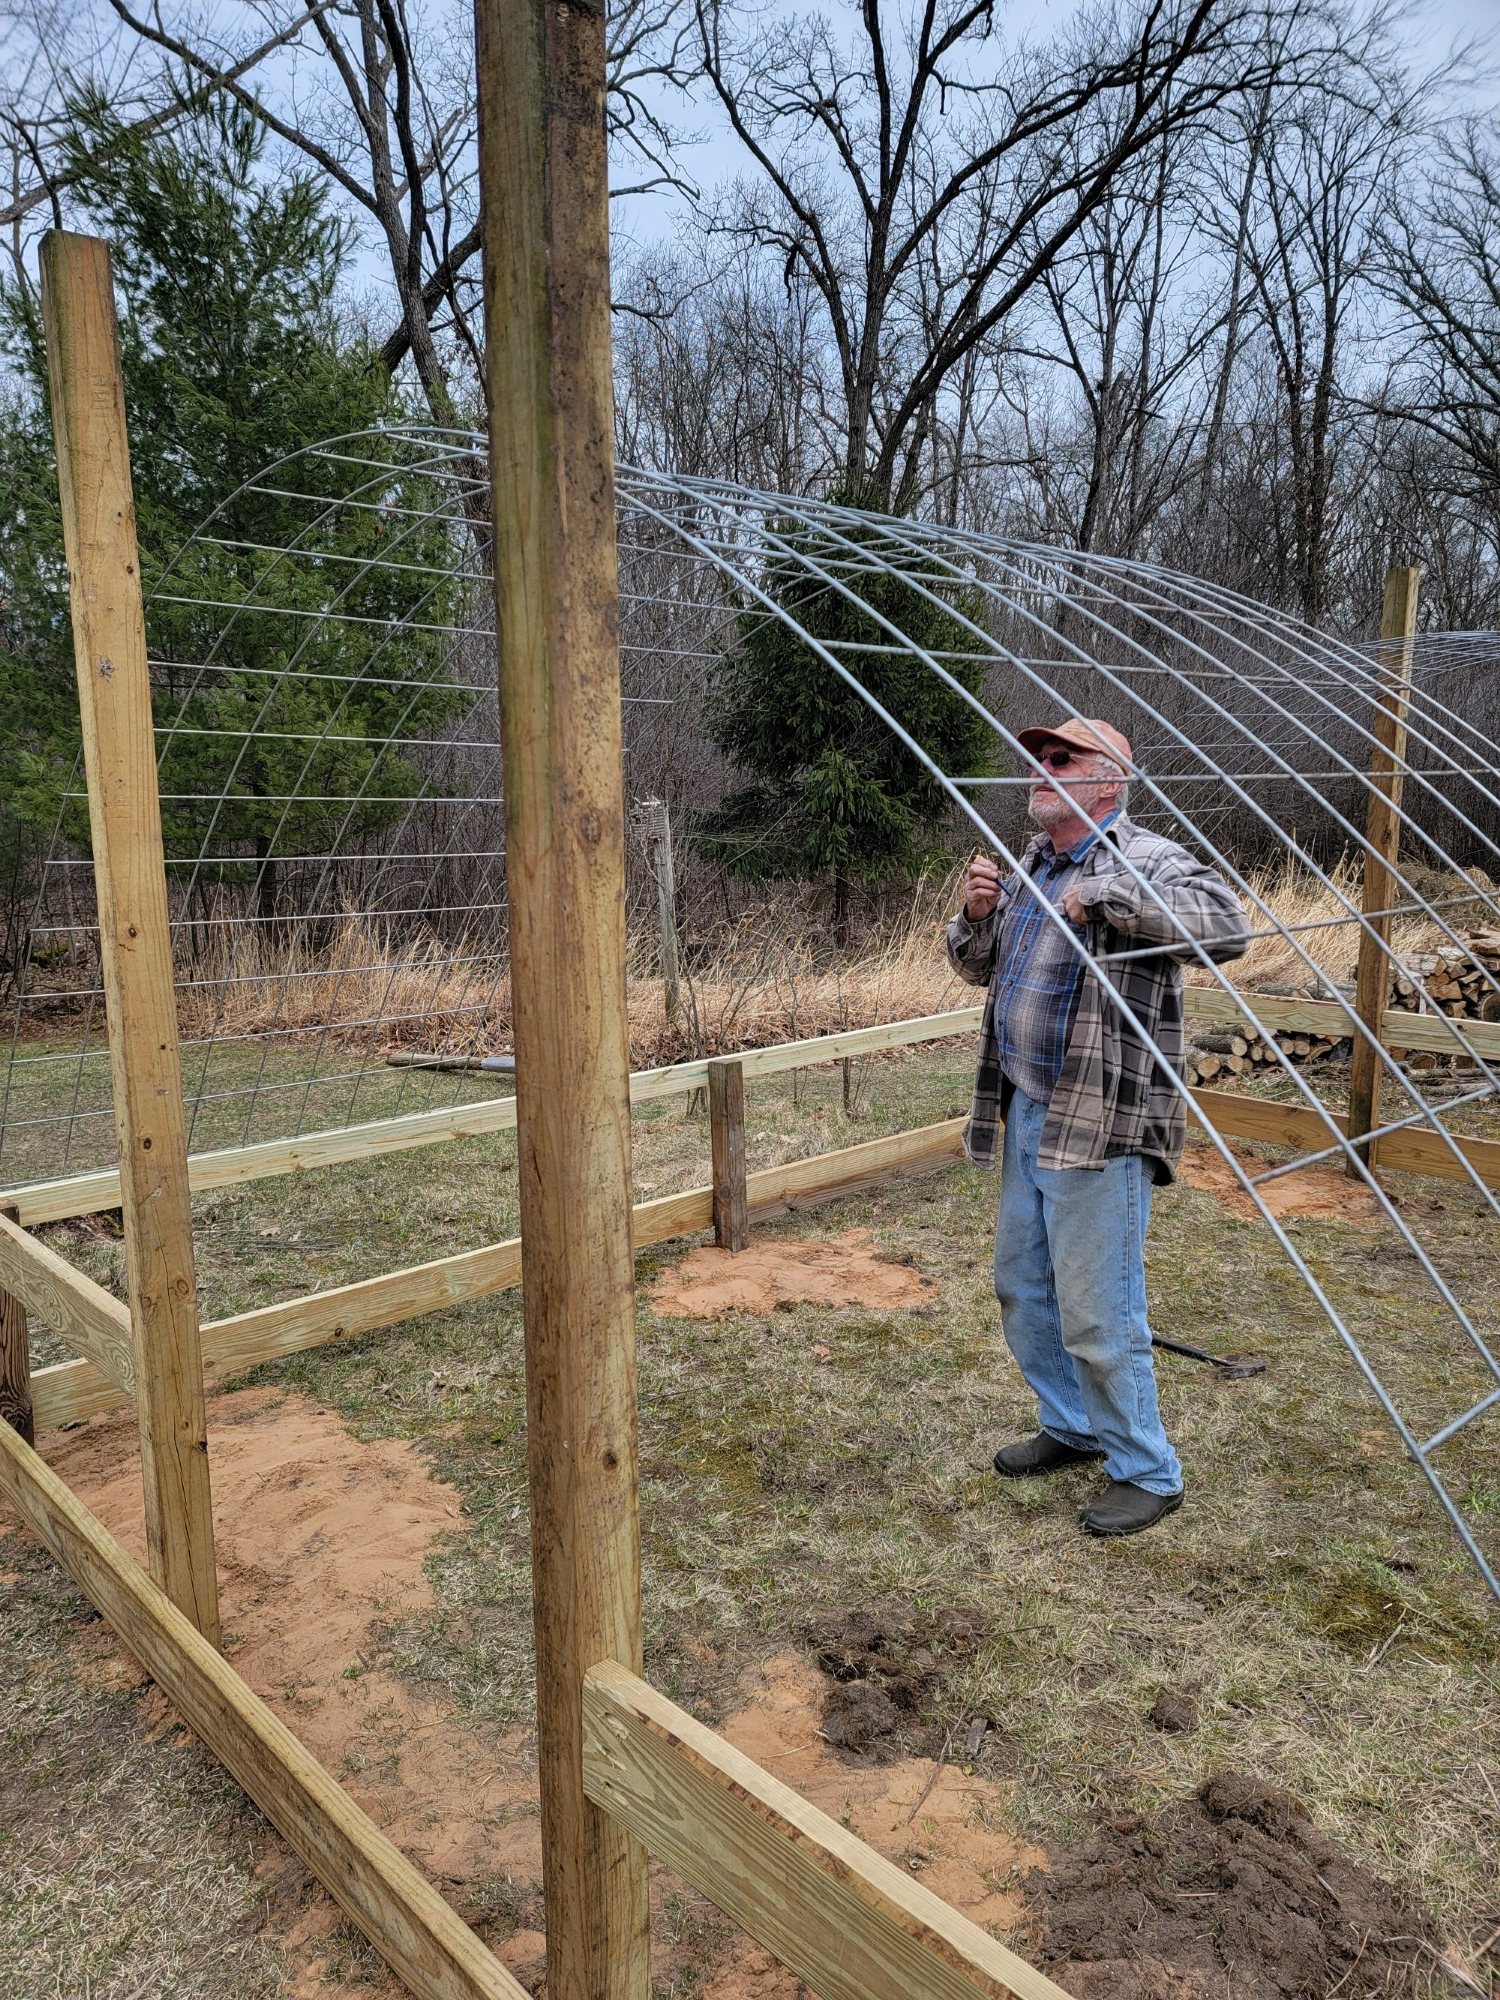
I cut the four posts and then made an opening for the door. I used galvanized wire fencing staples to fasten the cattle panels to the top of the sidewalls. Then, I used short lengths of plumber's tape wrapped around the panel ends and screwed to the sidewalls. To secure the length of the panels, I used cable ties at first and then later wired them together.

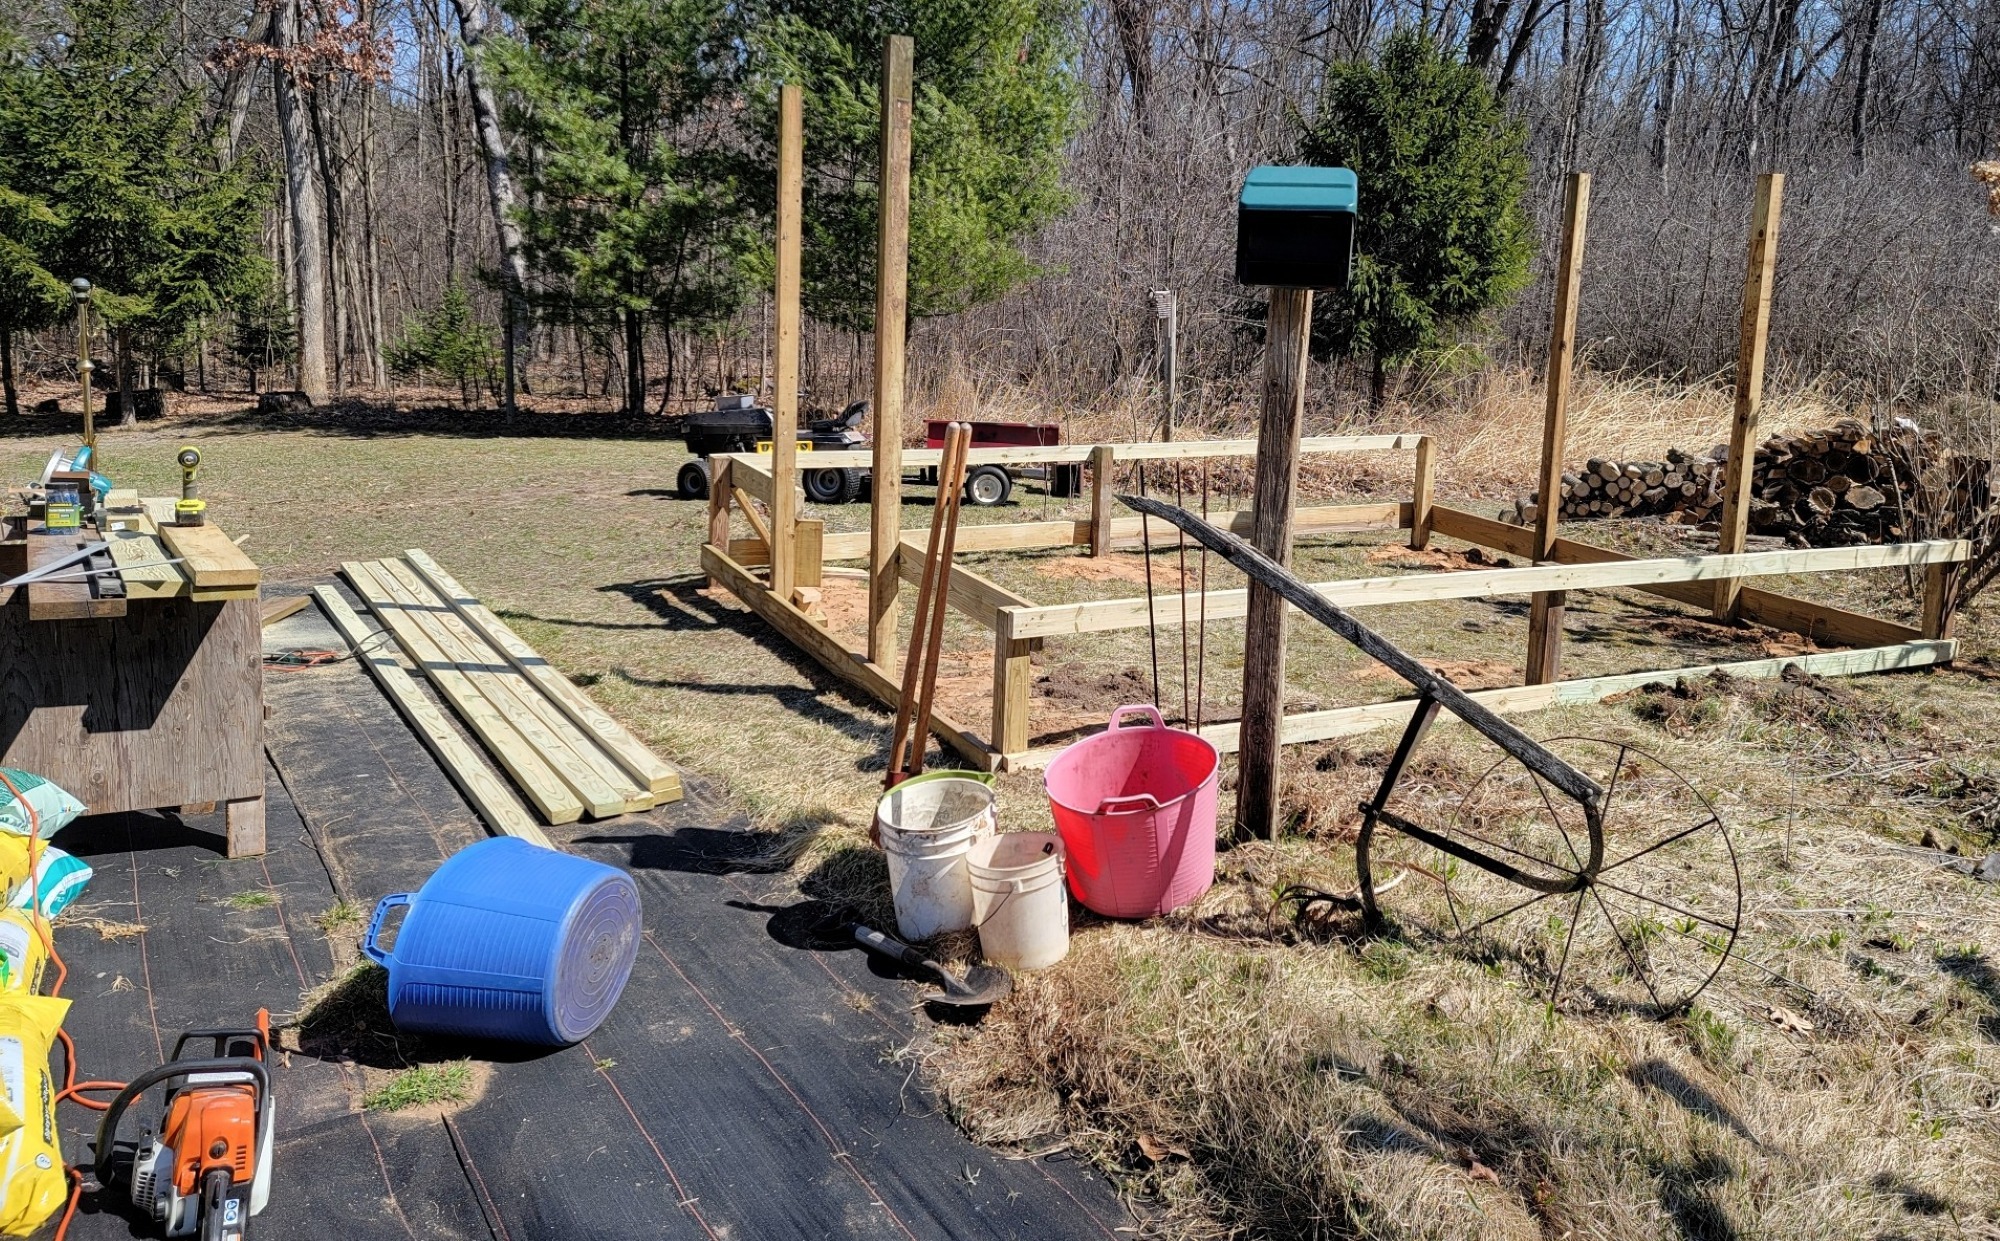
I used 1/2" pipe wrap on the ends of the cattle panels to protect the plastic. I covered the ground with fabric, well-underneath the wall edges to keep out the weeds.
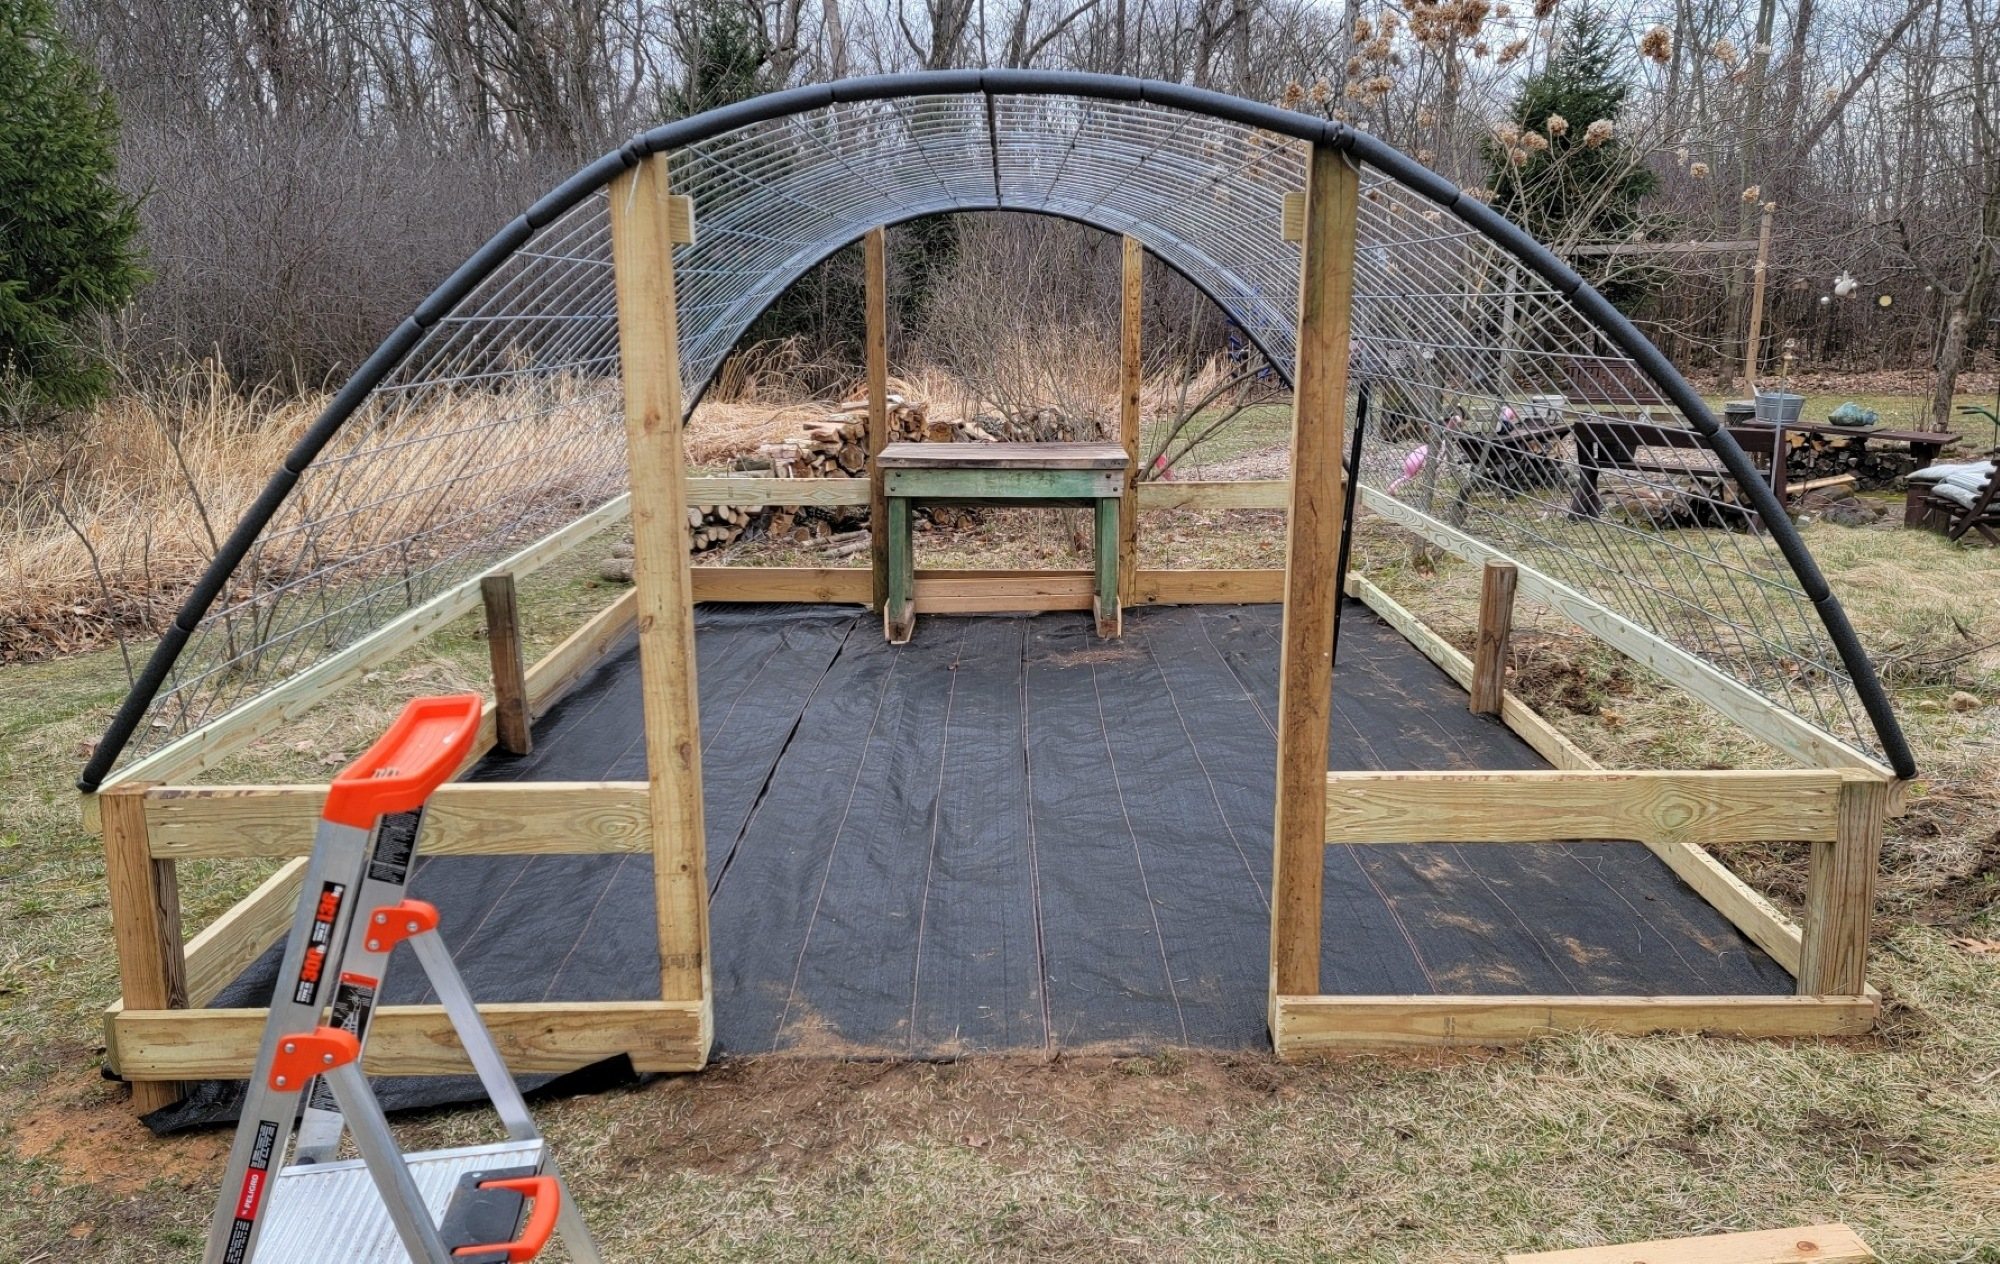
First thing...I moved in my potting bench and started imagining how I was going to layout that end of the greenhouse. I was planning for LOTS of room for stuff.
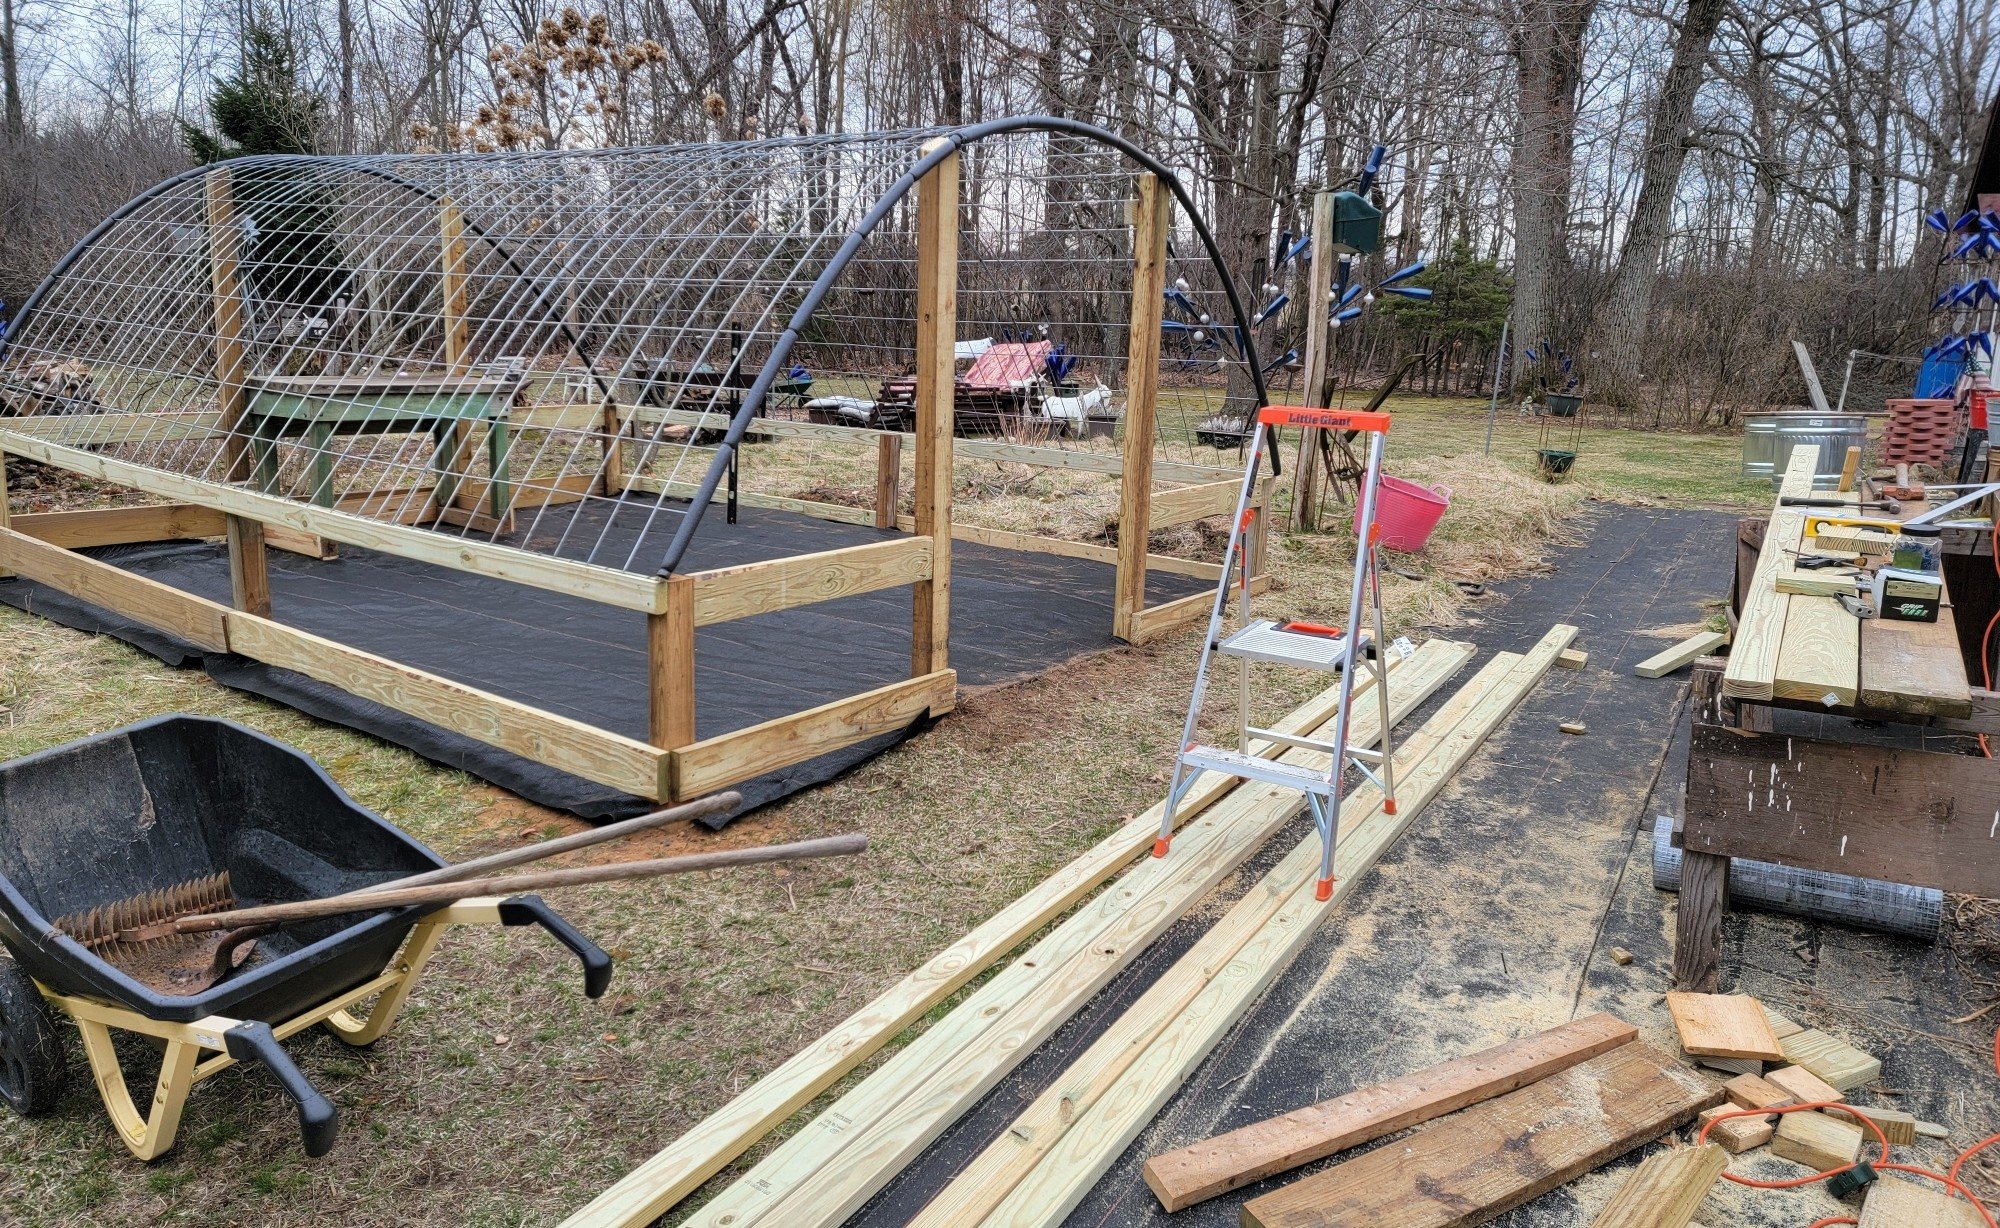
So...I started my build on March 28th. Everything was going so well...
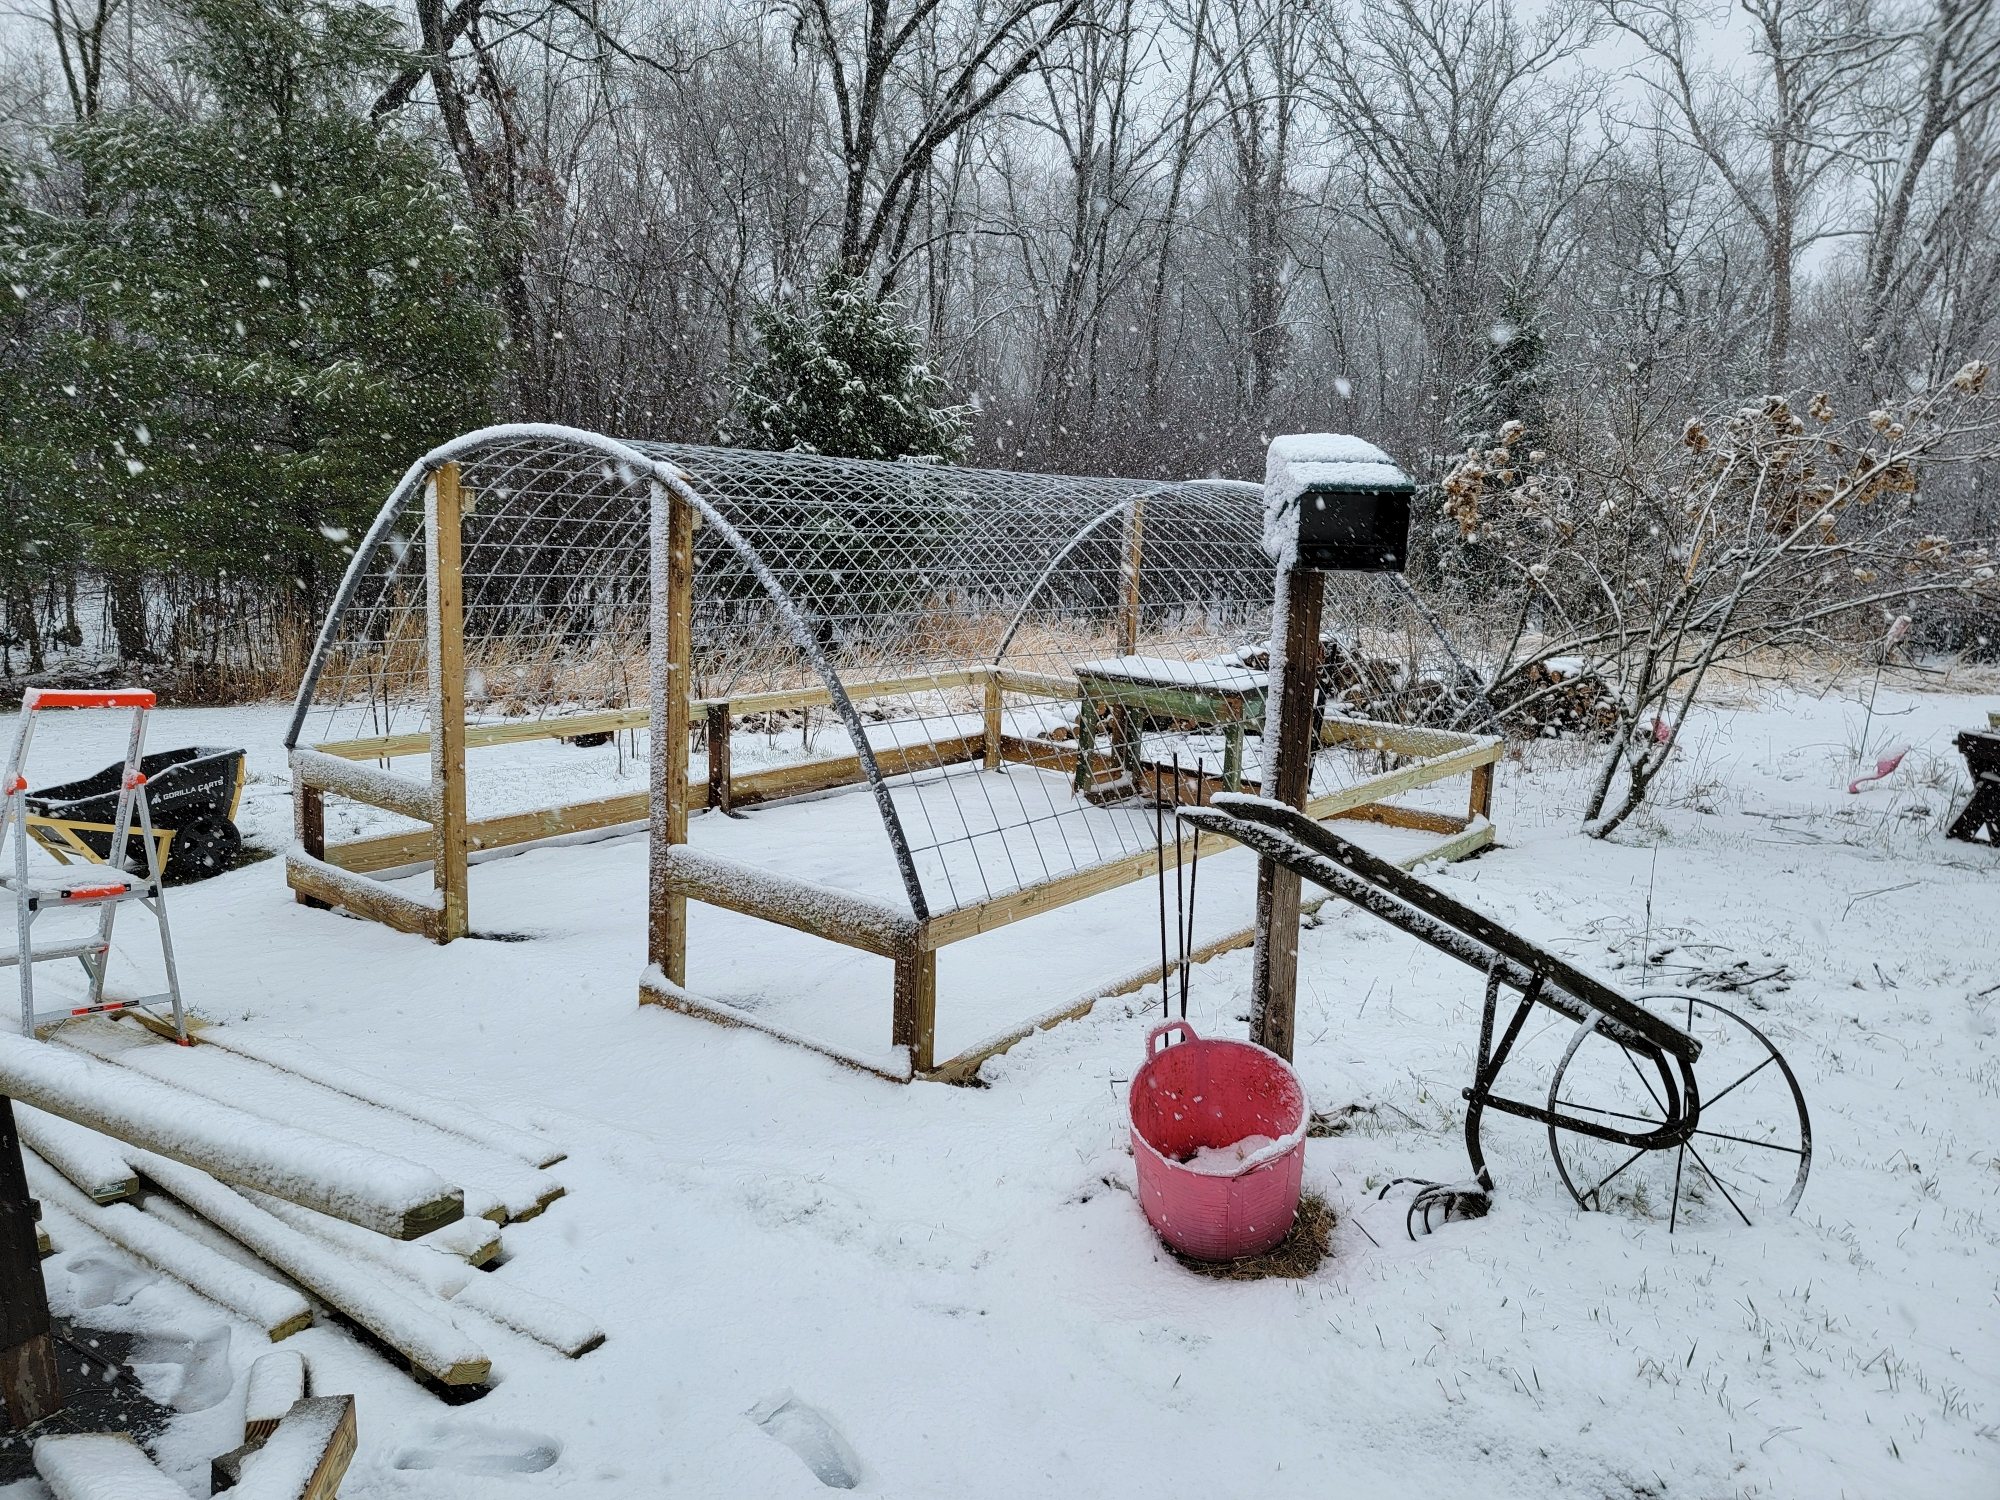
Four days later...That's Wisconsin Spring time for ya!
I remember my Master Gardener classes: Sometimes we would tele-conference in our classes. Always felt so sorry for the gardeners in Barron County...WAYYYY up nort...smiles. They had almost 2-3 weeks less gardening time than we had here in the middle of Wisconsin!

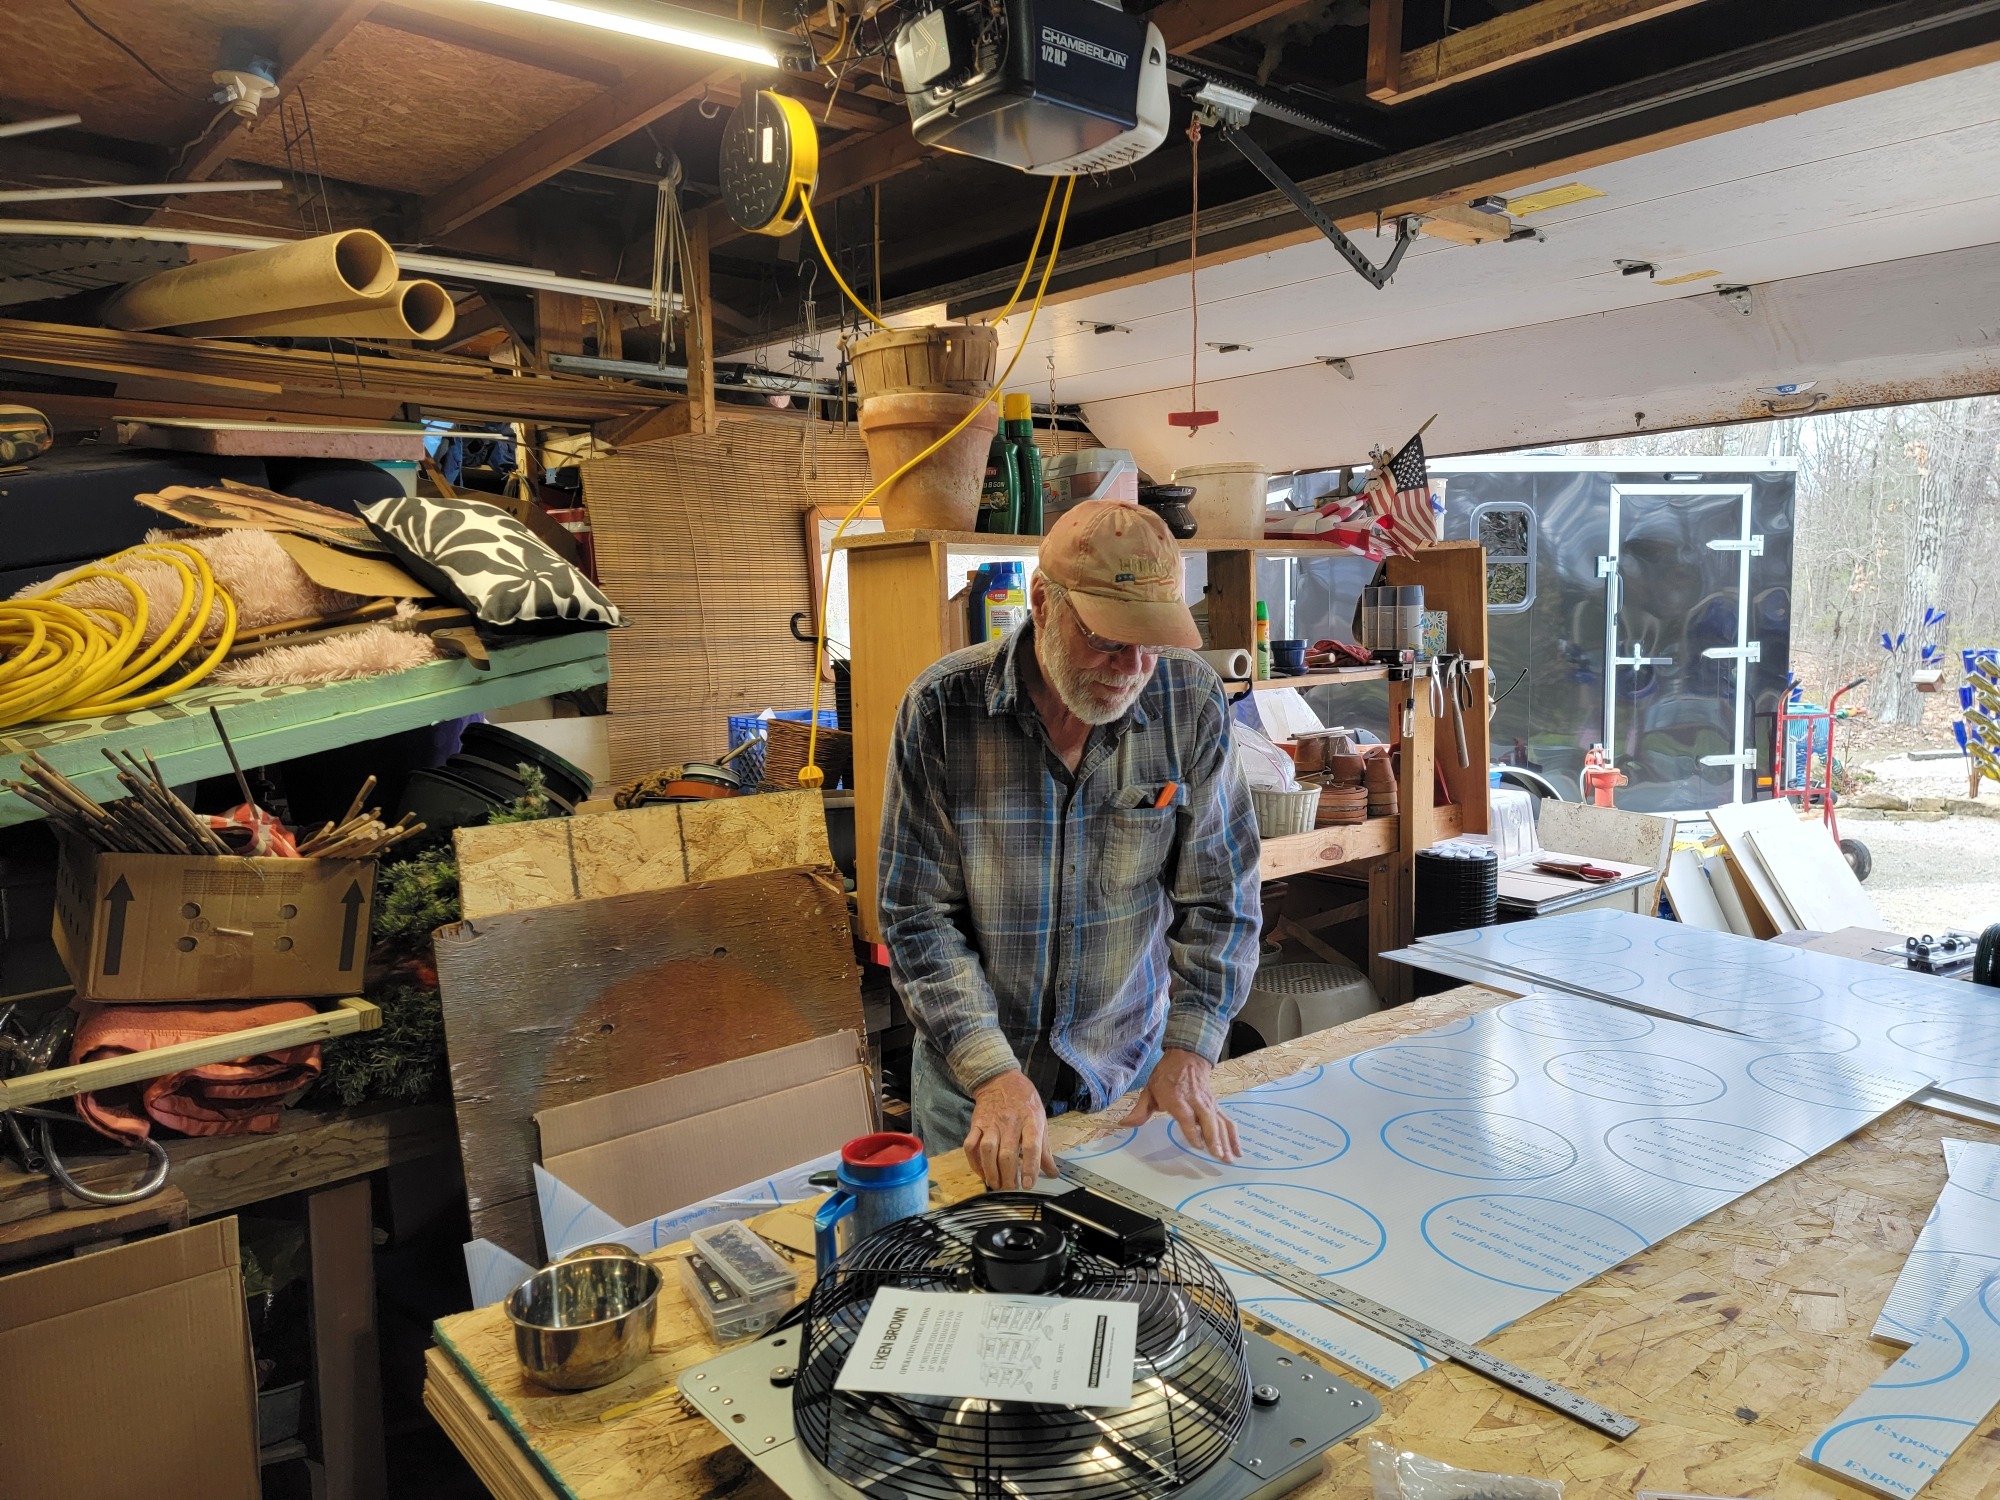
The weather moved me indoors to build the side panels and start cutting the polycarbonate panels.
Throughout the build, I tried to use pocket hole joints. I planned to have two 8-foot swing-up hinged doors on each side of the greenhouse, which will be covered with polycarbonate panels. Having side walls like this will allow me to easily use a 16x25, 6 mil plastic cover. The four 8-foot liftable side walls will help keep the greenhouse cool as needed.
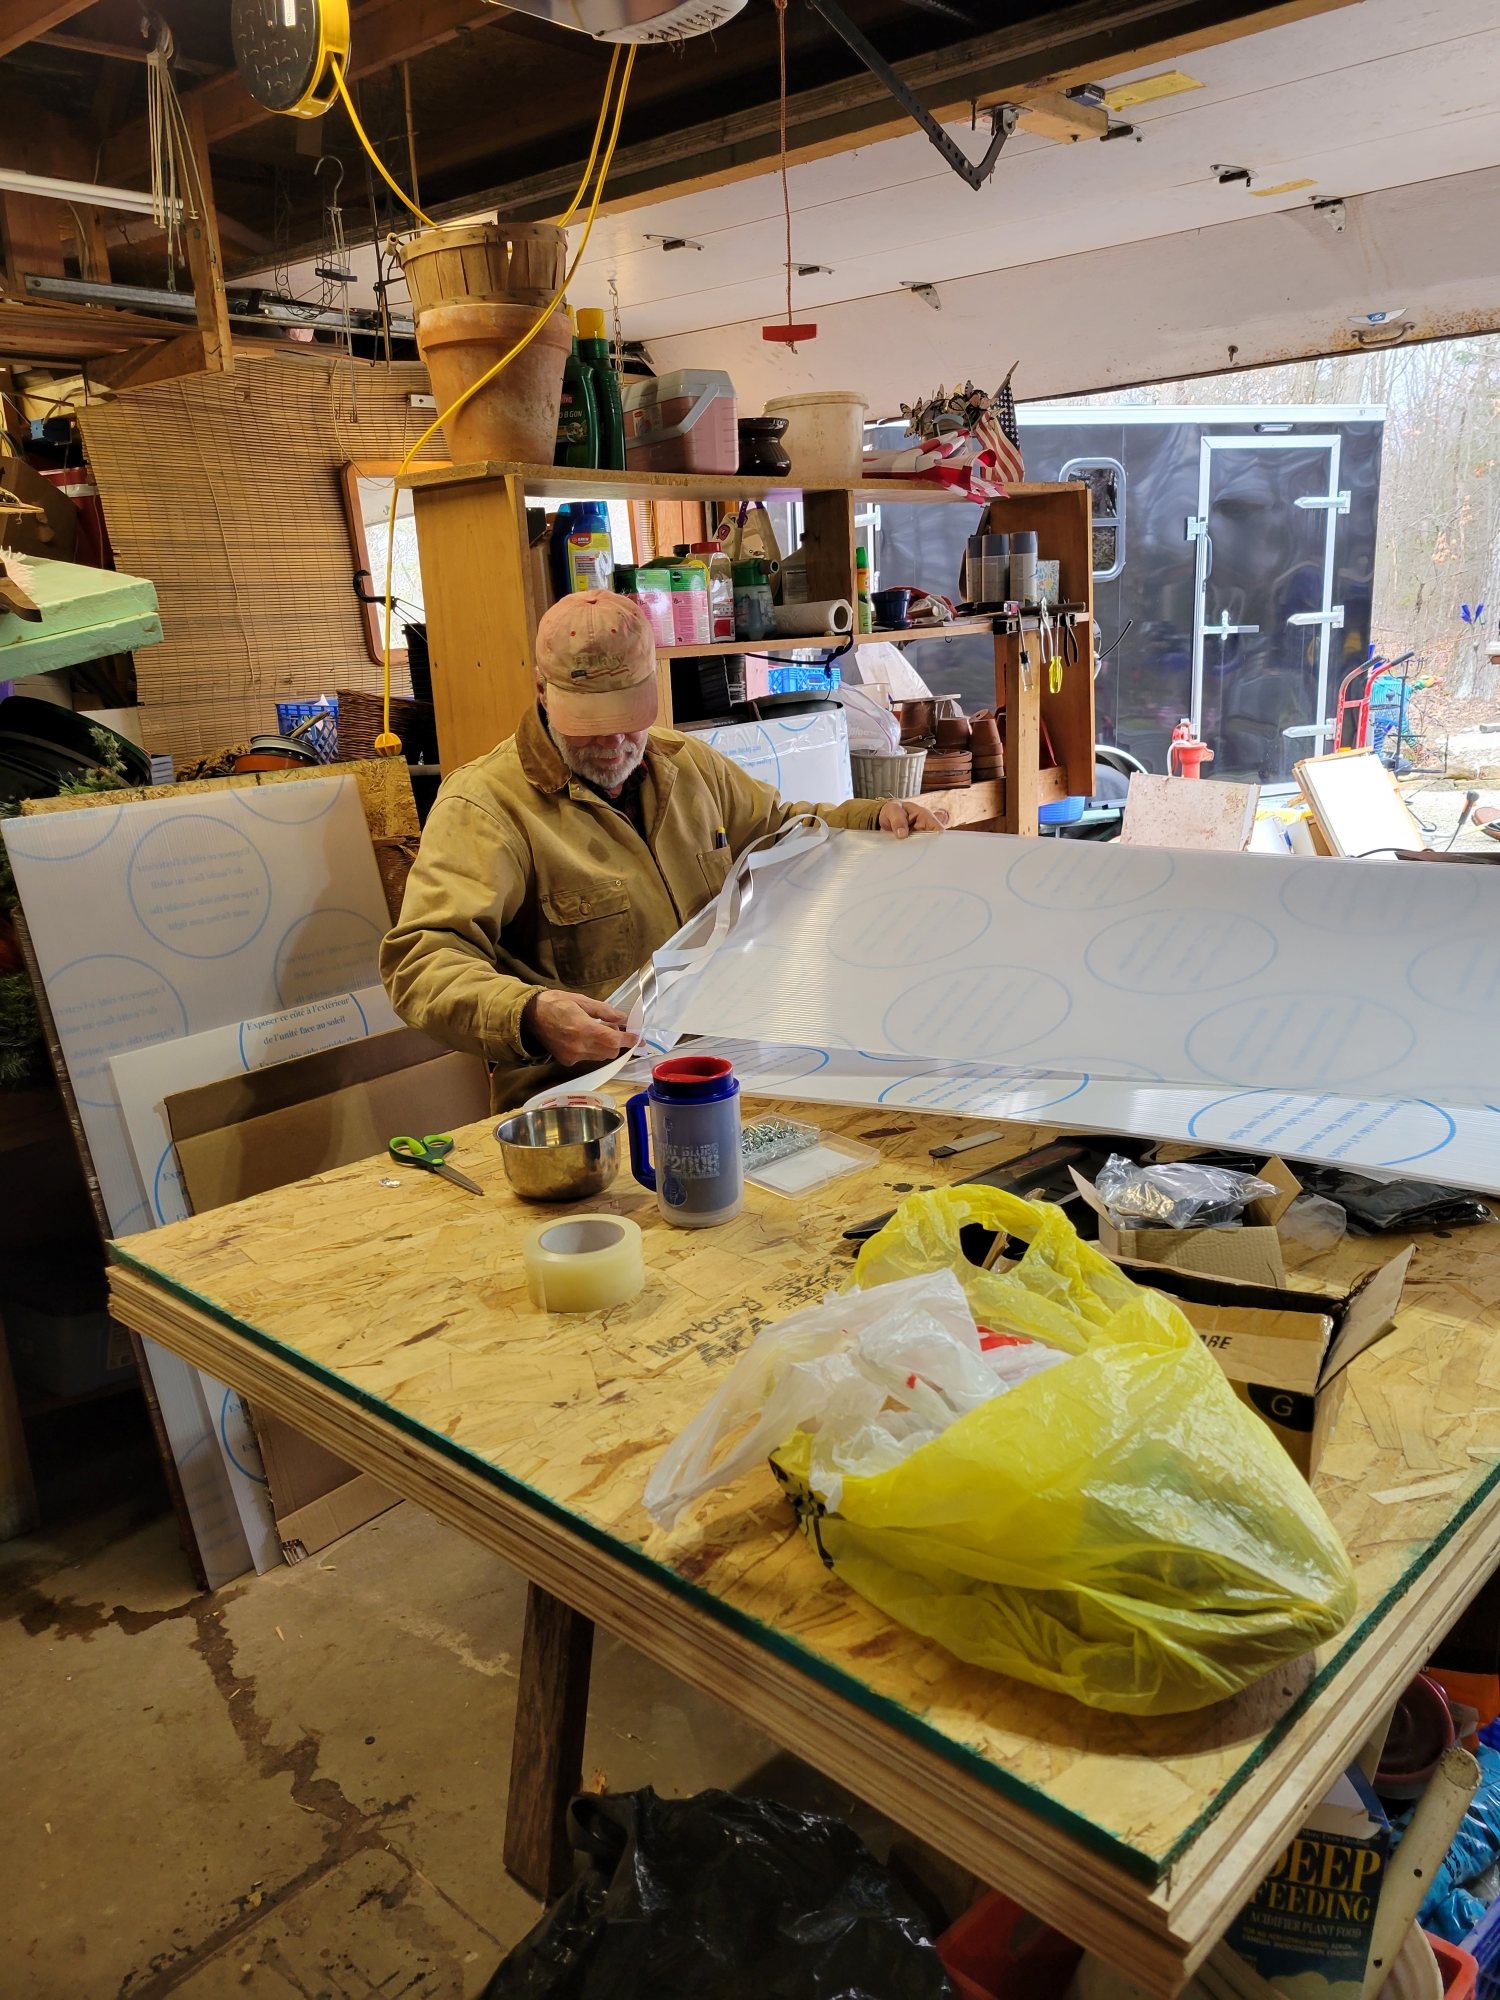
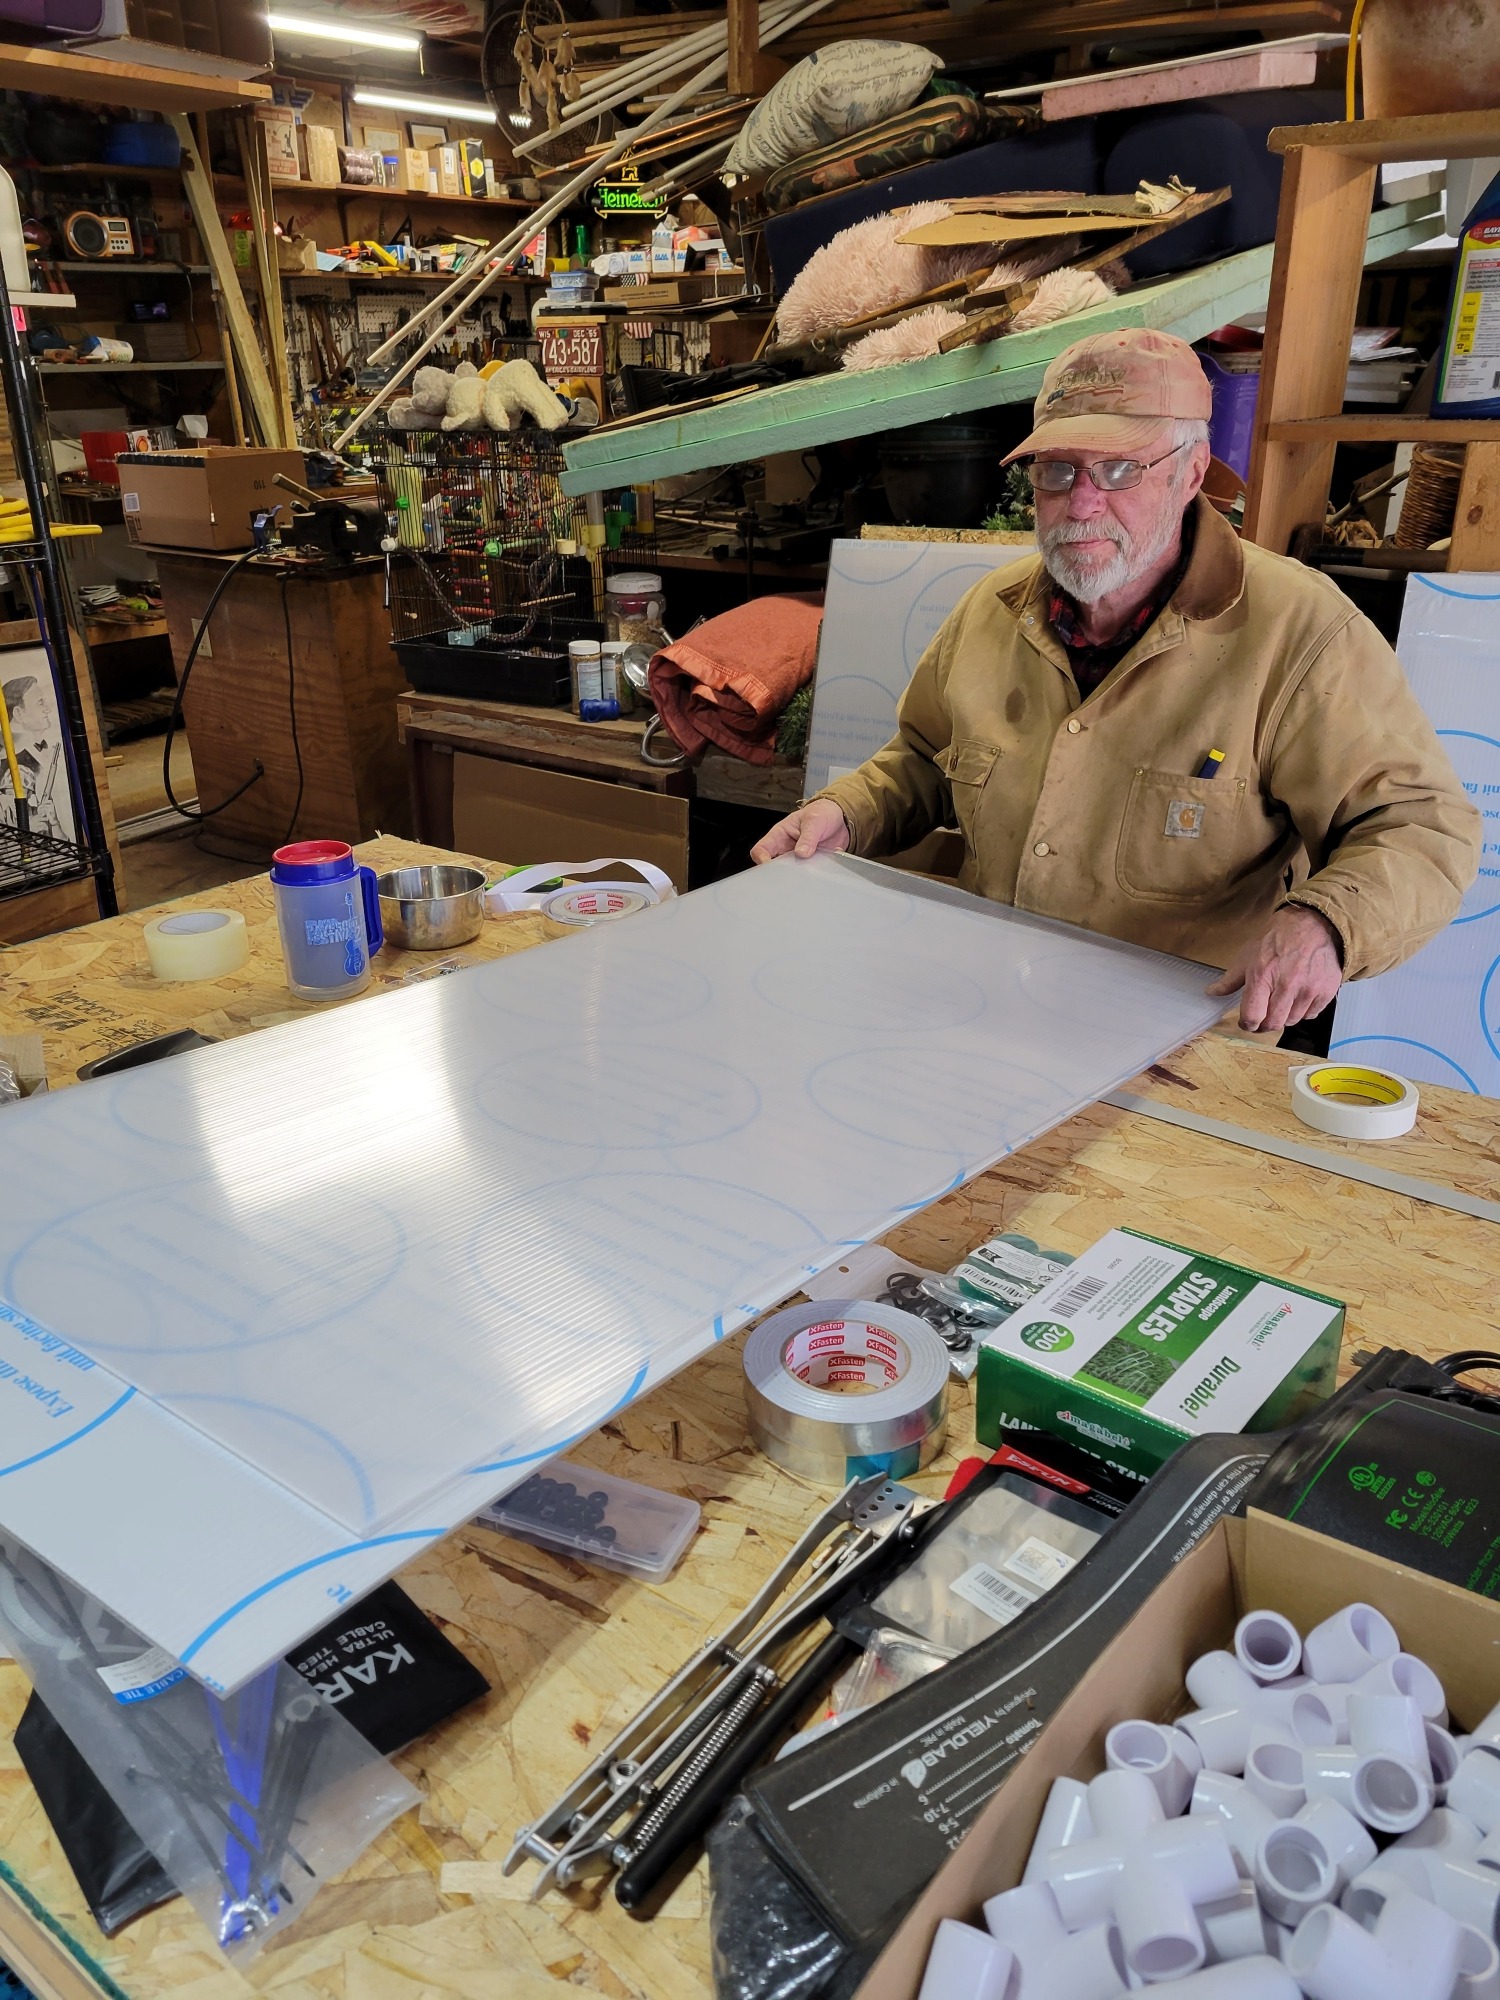
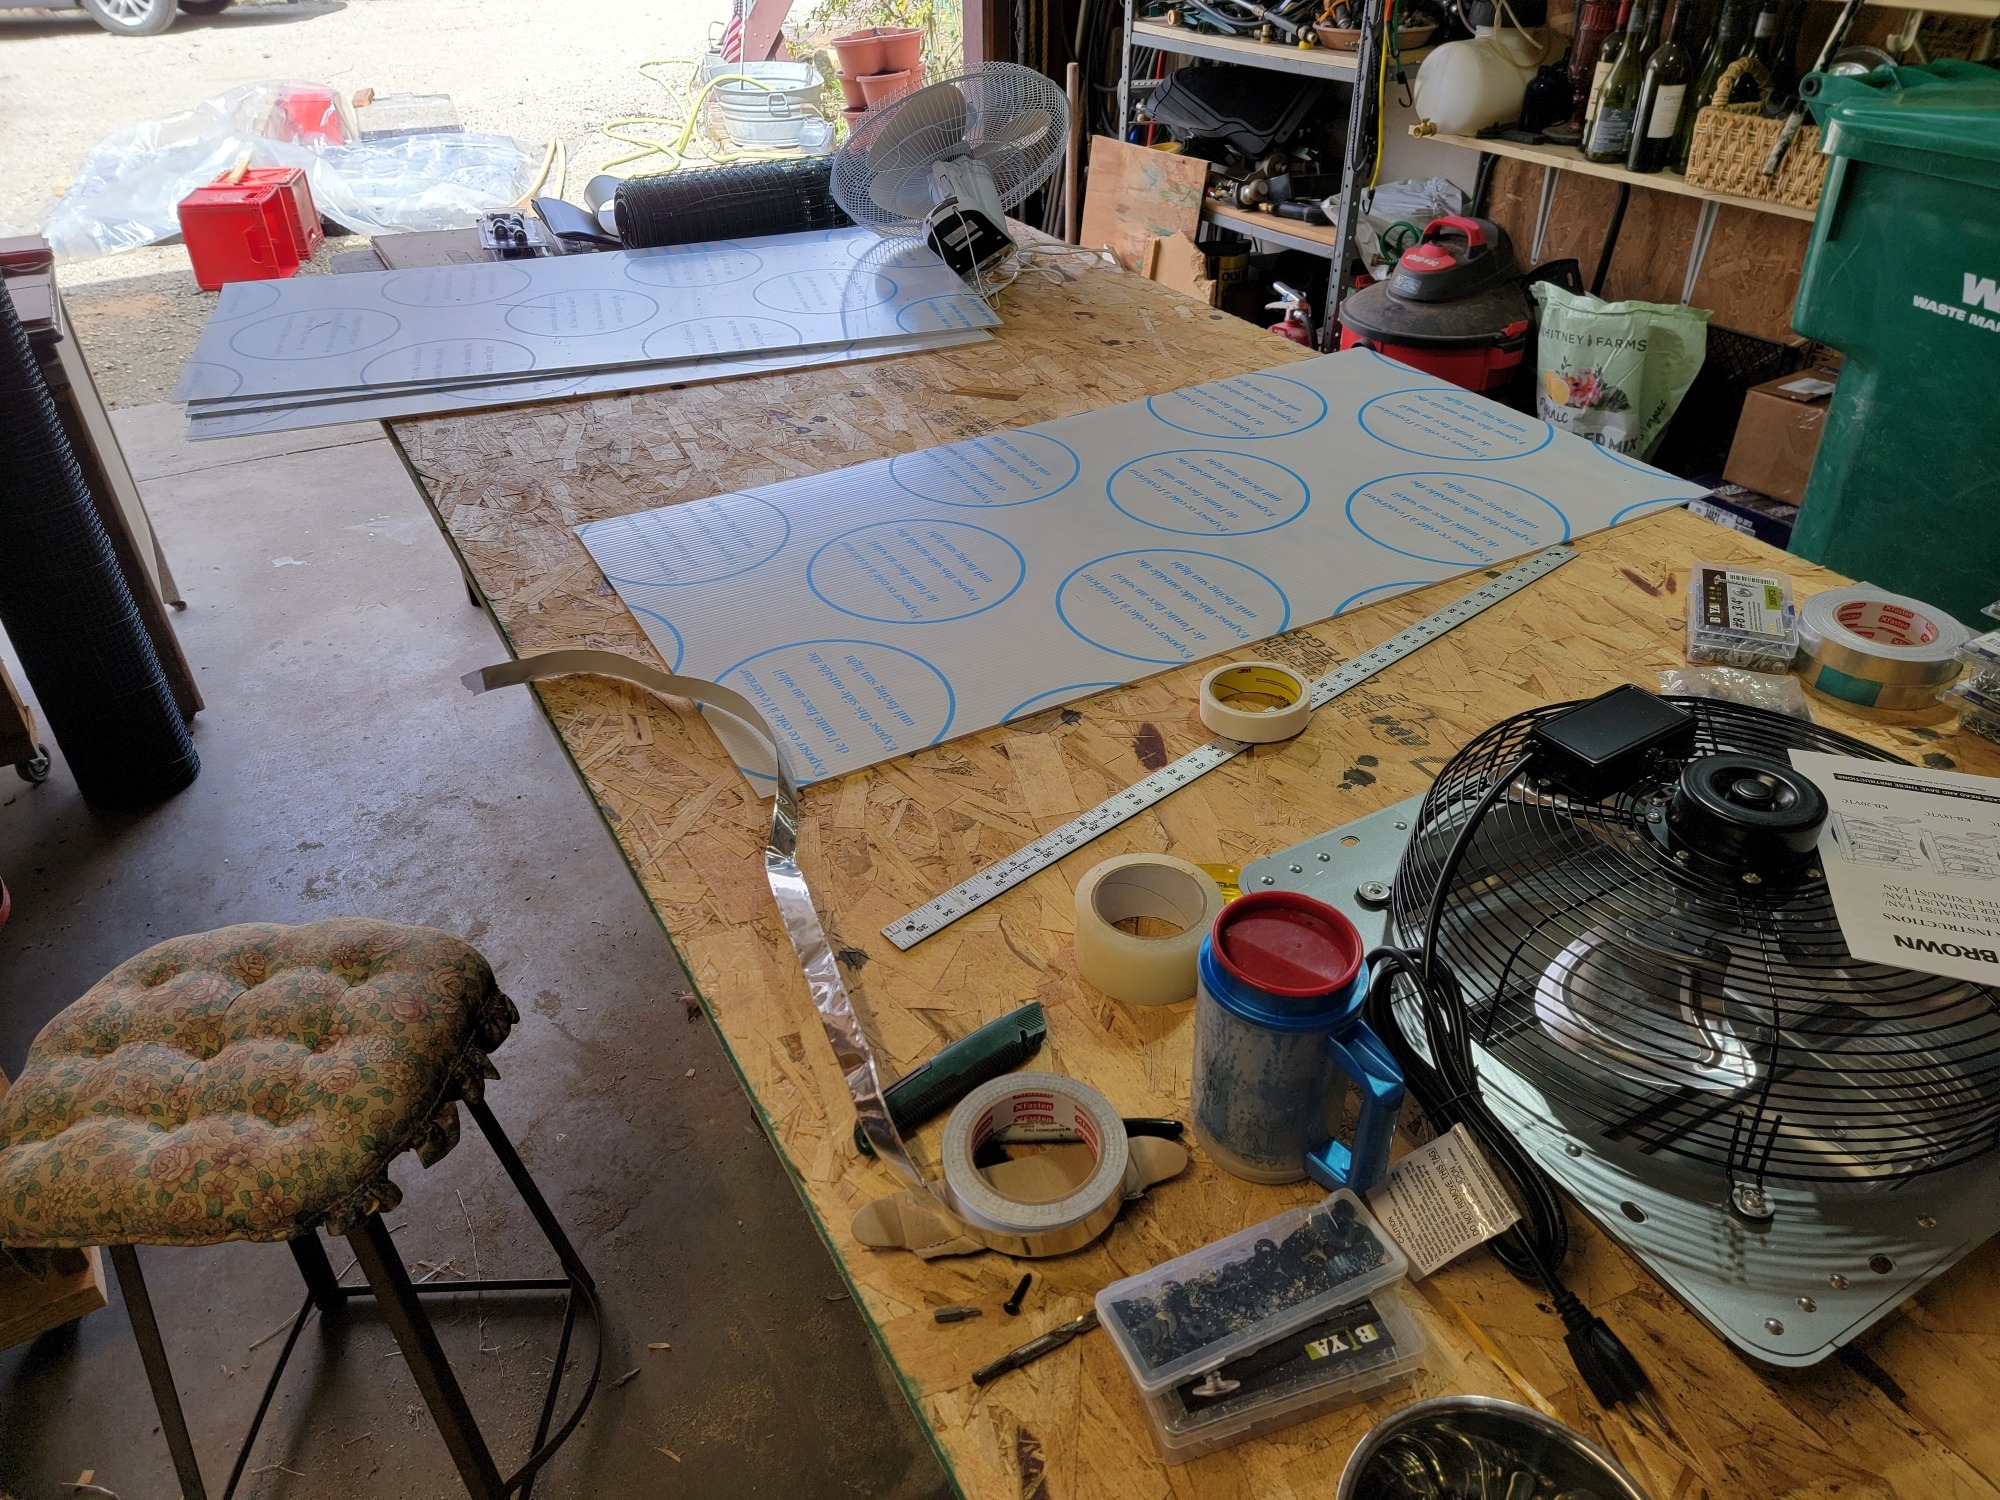
Each clear polycarbonate panel measures 2 feet wide by 4 feet long and is 0.16 inches thick. The panels are waterproof and UV-protected. The side of the panel with the protective film is the side that should face outward. The protective film should be removed last in order to prevent damage.
The polycarbonate panels have multi-wall channels that run the entire four-foot length of the panel, and these channels should be installed vertically to allow for drainage of any condensation buildup.
The channels are open at both the top and bottom. You should use foil tape to seal the channel at the top and a breathable tape to seal the bottom of the channel. This prevents debris from getting inside the channel, and the breathable tape allows moisture to escape.
I had ordered two boxes of 15 panels for a total of $160.00. I used 24.
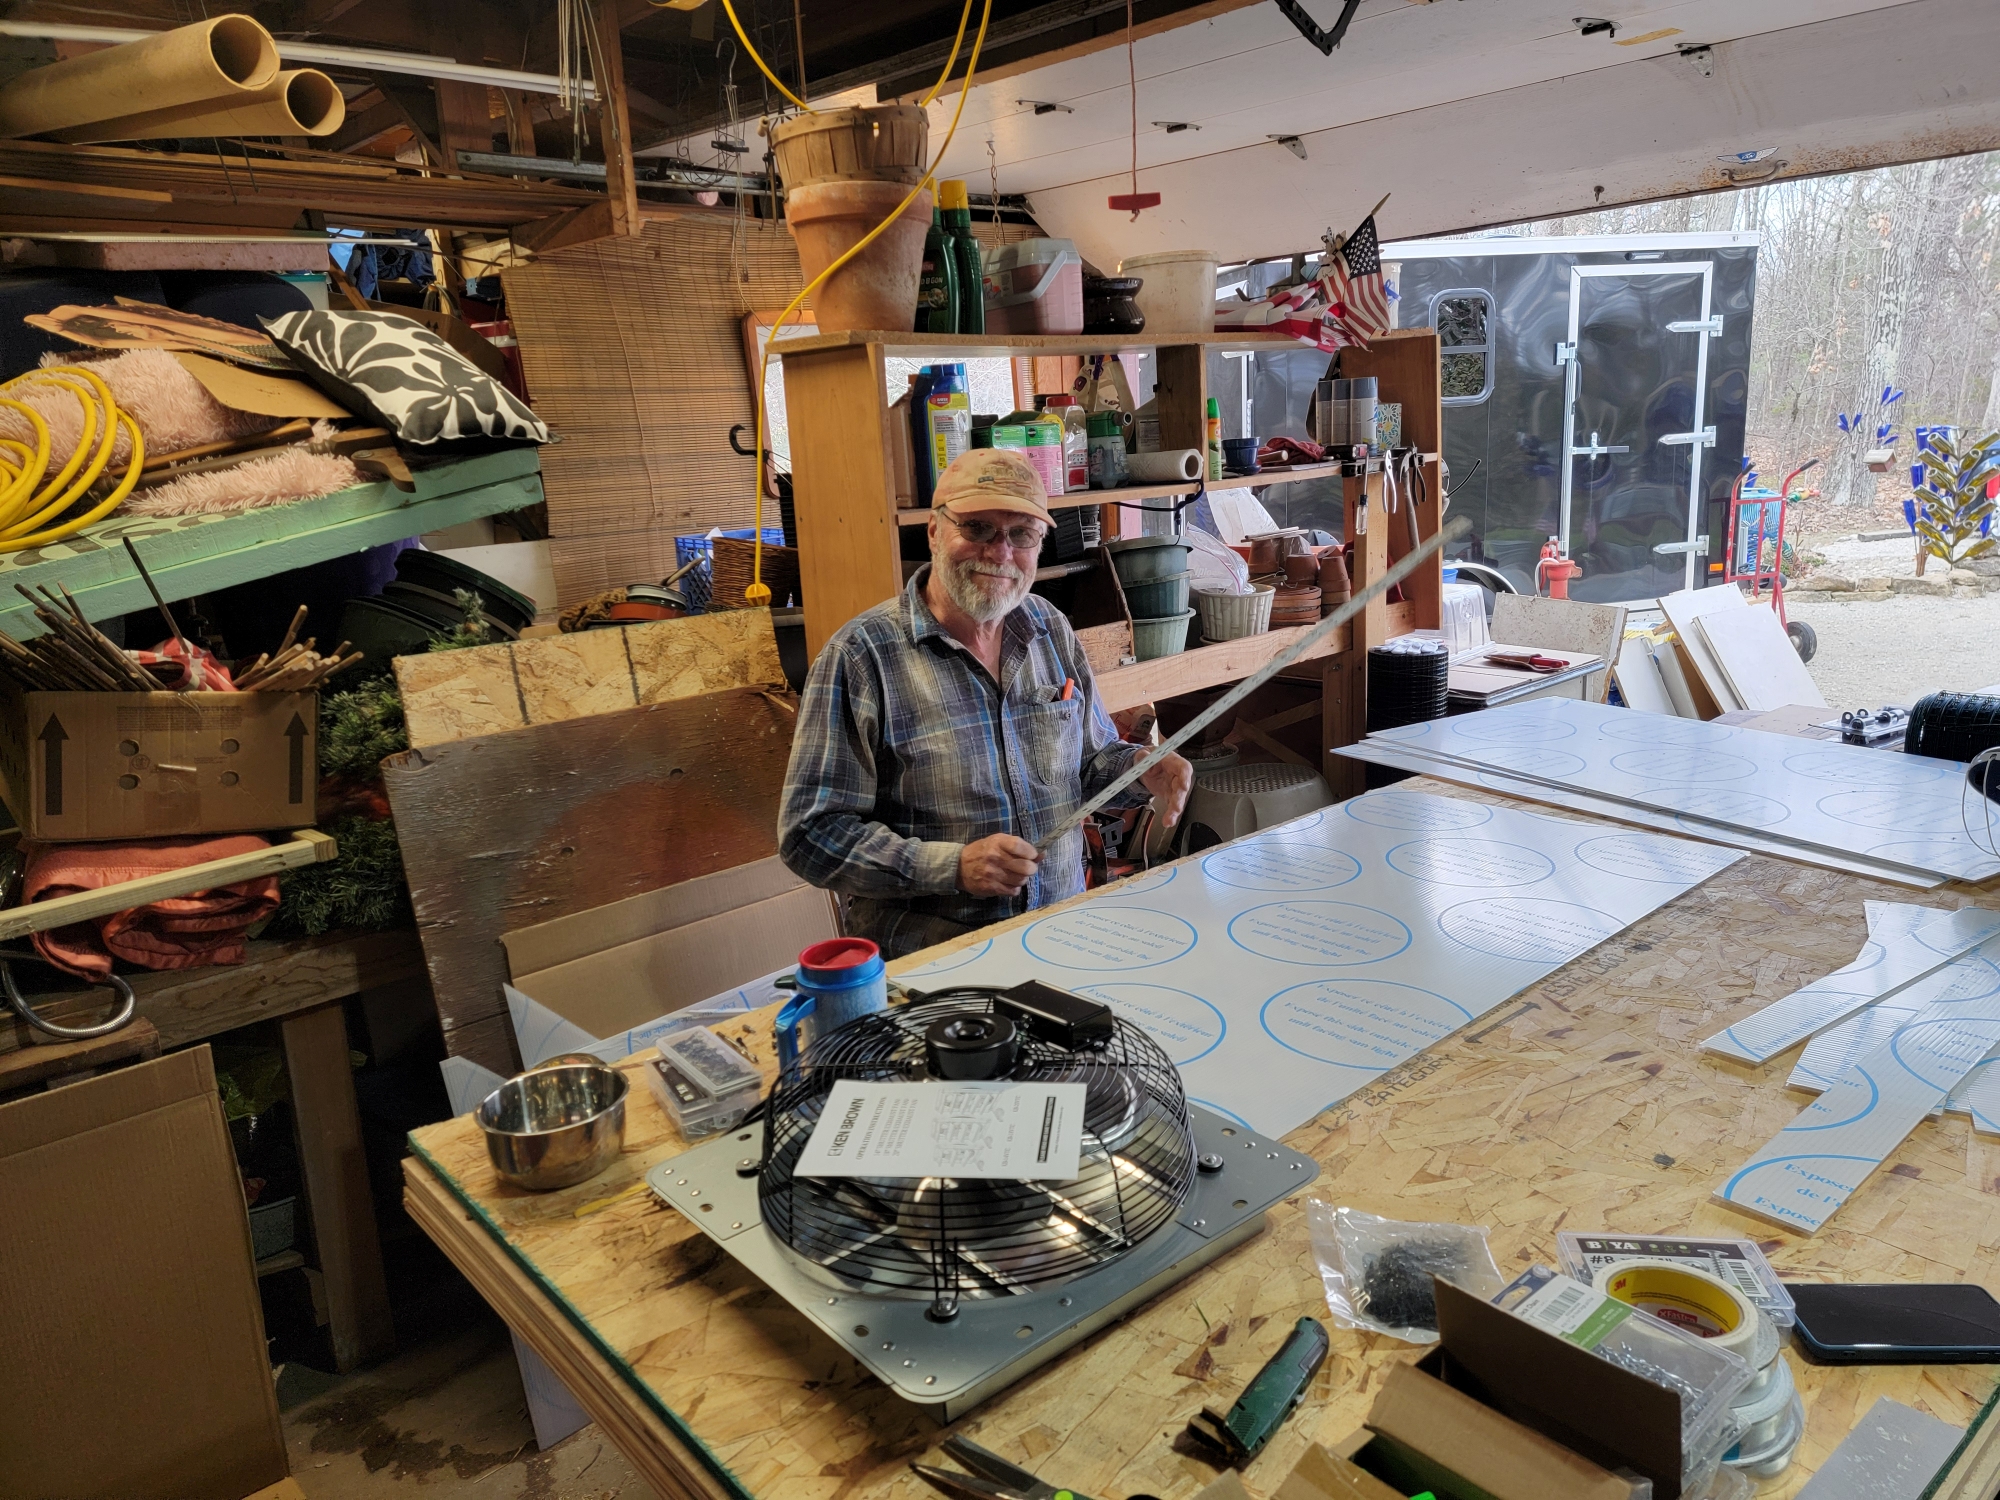
Remember this: Since these channels need to be kept vertical, it means that you'll have to do a lot of cutting to size as you can only use the 2-foot width of the panel for laying out the background nailing surfaces. The panels can be easily cut with a razor blade and are very lightweight.
Using these panels allows me to cover the front and back of the greenhouse without having to worry about tucking and cutting the plastic on the ends of the building.

I am applying the foil tape to the top of the panel. Then, you turn the panel over to fold over the tape to create a seal.

This is the breathable tape that you put on the other end of the panel. Again, you turn over the panel to fold the tape over and seal.