Continued from Page 1

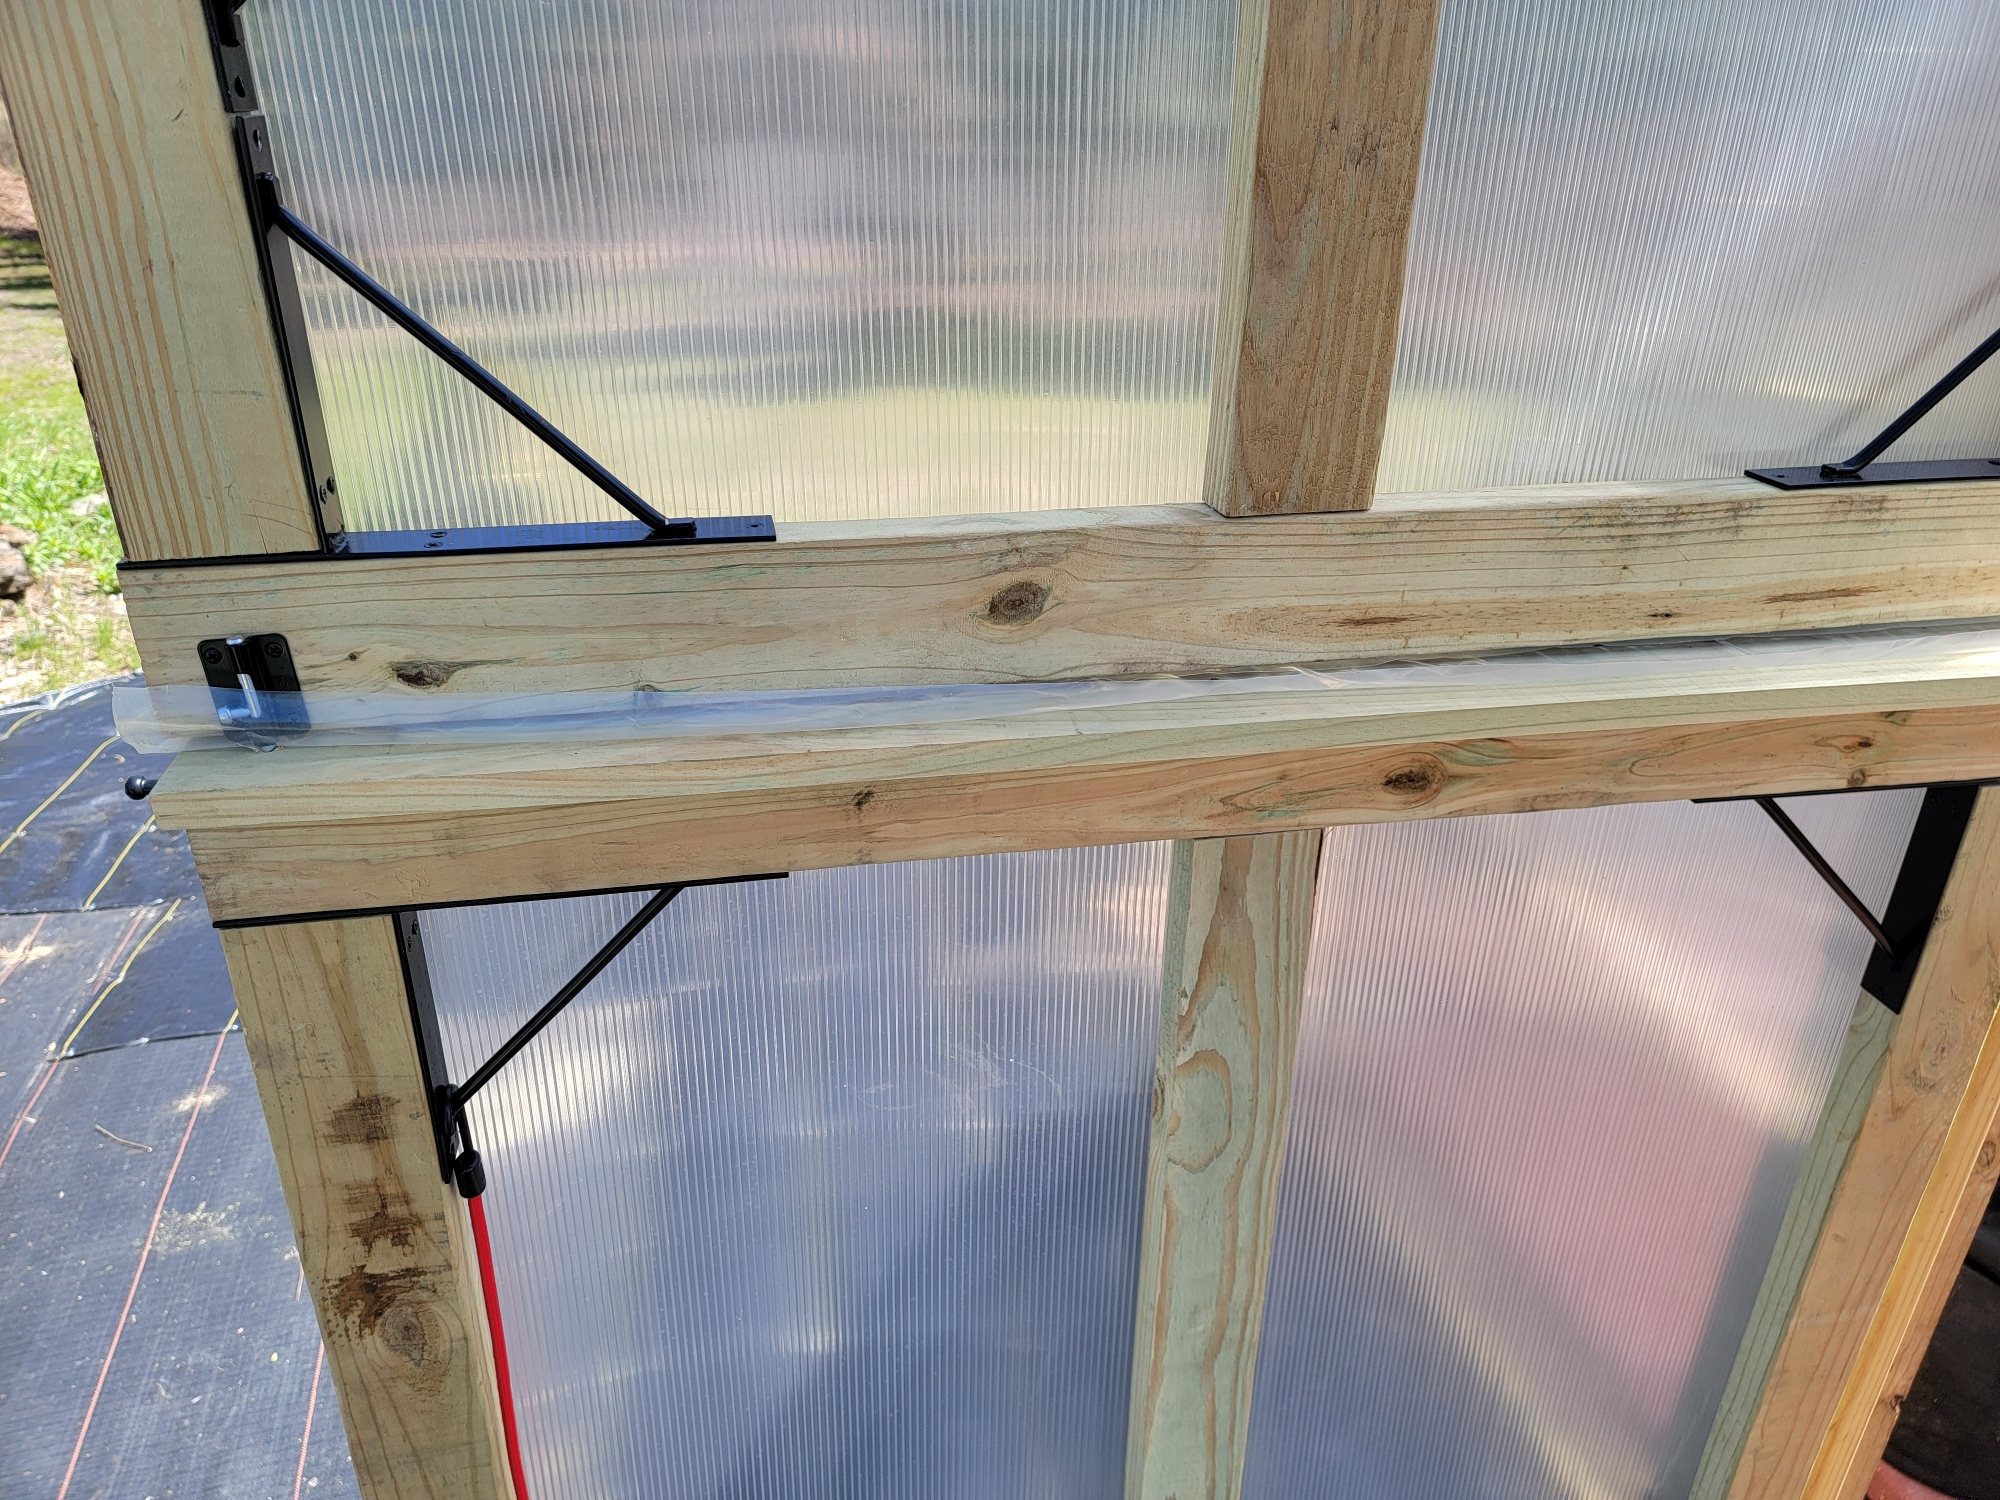
The top of the panel after the foil tape is applied.

Most of the snow has melted, so it's time to go back to work. Here, I'm in the process of installing the side panel doors. Each eight-foot door requires four two-foot wide polycarbonate panels to ensure that the internal channels are kept vertical. Wherever two panels meet vertically, I'm taping the joint with 2-inch, 6 mil plastic tape to maintain a tight seal.

The doors fit perfectly, and I discovered these excellent spring-loaded latches to secure them.

All side openings of the greenhouse are covered with quarter-inch hardware cloth to keep out the critters.
I built 16-foot shelving on each side. The shelves are 24 inches deep and topped with 1/4-inch hardware cloth.

To provide additional support for the roof, in light of Wisconsin snowfalls, I have added two 2x4s that run the length of the greenhouse.
Wherever the cattle panels come into contact with the wood, I have secured them with heavy-duty fencing staples. For added strength, I have wrapped plumber's tape around the panels and secured it to the beams and tops of the side walls.

Added the cross-members between the top 2x4 beams.

Testing the the doors...swing up nicely. Later, I will install handles on the ends of the doors. I will add small hooks and bungee cords to prop open each door as needed.

Adding the center diagonal support beams to transfer some of that roof load to the ground. Again...I am worried about excessive snow load. These supports also add good support to my side shelves.


Starting to install polycarbonate panels.

I had to carefully plan the installation of the 2-foot wide panels since they needed to be installed vertically. It was important to ensure a good surface for the flat-head screws with rubber washers.

I added a Vevor 14'' Exhaust Fan with a temperature and humidity controller. This fan is rated at 1513 CFM, which is ideal for my needs. It features a 10-speed adjustable fan that can be programmed for minimum and maximum temperature and humidity settings. So far, it's working really well for me.


Designing my potting bench as I go. What fun.

There is about a half-inch gape between the two doors. When it was cold, I stapled a piece of plastic to the underside of the upper door to make a better seal.

I LOVE the Dutch Doors.
I was worried about keeping such a large door swinging freely, but I found an anti-sag gate frame kit, made by Hillmaster.

The steel hardware is the best option for the door frame. You only need to cut the 2x4s to your specific dimensions. The multiple screw attachment points make it a very sturdy and stable setup. The frame only allows a square assembly.
I later installed a 16-inch square aluminum automatic gravity louver vent and covered it with 1/4" hardware cloth. However, I regret doing that now. I was concerned about ventilation, but with the four side vents open, the 16" vent is overkill. Oh well!

Swings nicely!

I used about 6 inches of plastic to cover the top edge of the side doors for a better rain seal.

I used 1x2 treated wood strips to secure the plastic to the top of the side walls. I used these same strips to secure the plastic to the appropriate nailing surfaces on each end of the greenhouse.

My work crew...smiles.